Varavon Birdycam 2 Review
Features & functionality are important, but at the end of the day, a 3-axis gimbal is judged by its performance.
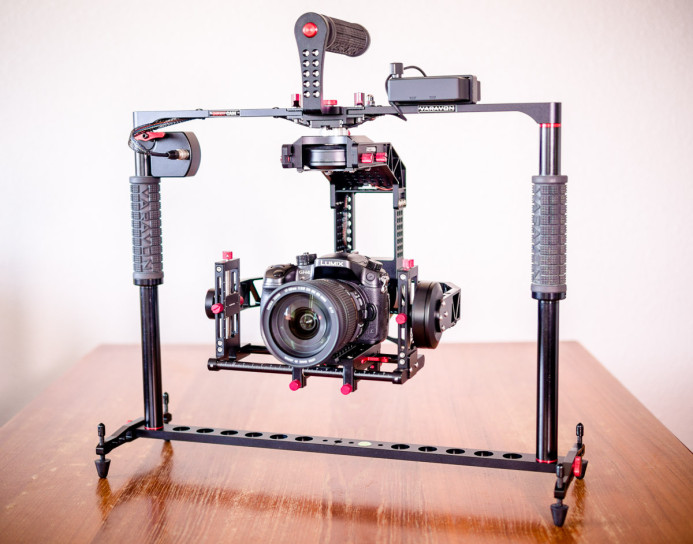
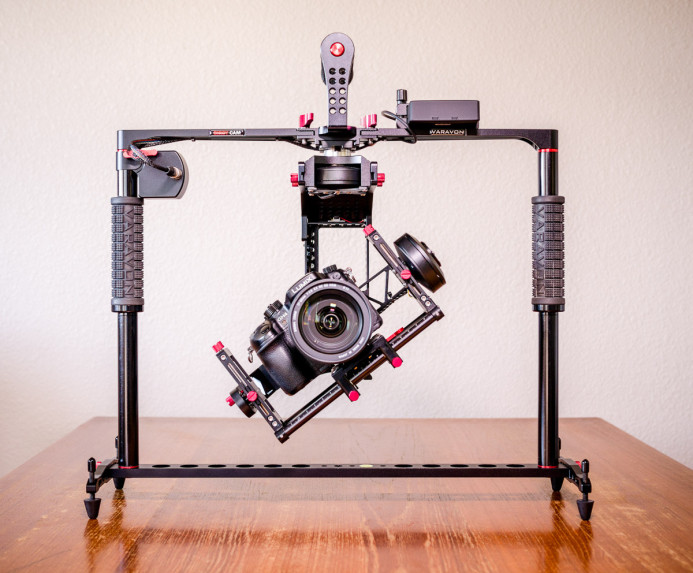
Varavon’s Birdycam 2 is a compact 3-axis gimbal for hybrid cameras like the Panasonic GH4 and Sony a7S. Varavon clearly put a lot of thought into the Birdycam 2’s design, as it has several innovative features that sets it apart from other gimbals (even compared to much more expensive ones).
Note: For more details on specs and features, see part one of the Birdycam 2 review.
The Birdycam 2’s features sure look nice, but how do these features perform in actual use? How quickly can you get the Birdycam 2 up and running? How long does the battery last?
Most importantly: How smooth is the footage?
B&H sent over the Birdycam 2 for us to test and we put it through the ringer to find out how well this gimbal performs in the real world.
The Setup
Before you can go out and shoot with the Birdycam 2, it does require a bit of setup. For the most part, setup is fairly straightforward, but there are some minor issues along the way.
Simple Balancing
Balancing the camera is the first step to shooting with any gimbal. The Birdycam 2 is one of the easiest and fastest gimbals to balance a camera on for 5 simple reasons:
1. A Stable Stand
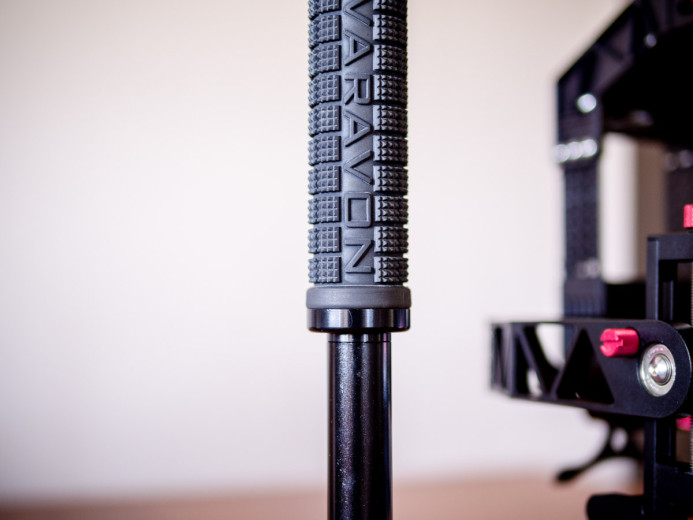
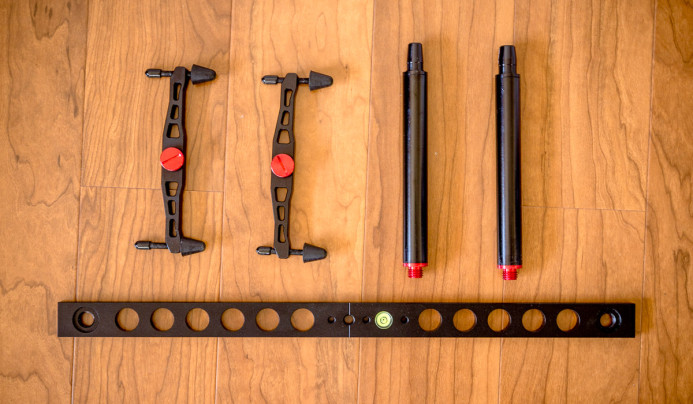
The Birdycam 2 includes a stand that locks into the gimbal’s handles to provide a stable base for setup and balancing.
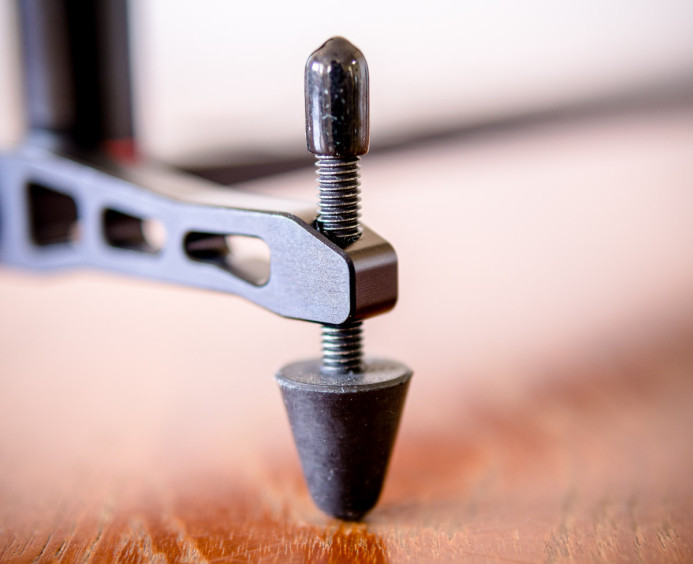
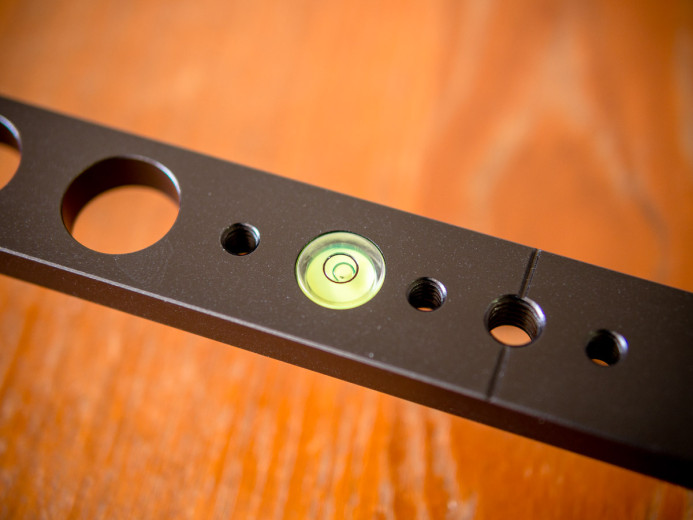
The stand features adjustable feet and a bubble level to ensure that the stand is level before you begin calibrating the gimbal.
The stand also has threaded holes so you can mount it on a tripod or light stand. This allows you to raise the Birdycam 2 up to a comfortable height for easier setup.
Perhaps the only downside to the Birdycam 2’s stand is that it does not fold up. Instead, you have to break the stand down in order to pack it up, which can take a couple minutes.
2. Completely Tool-less
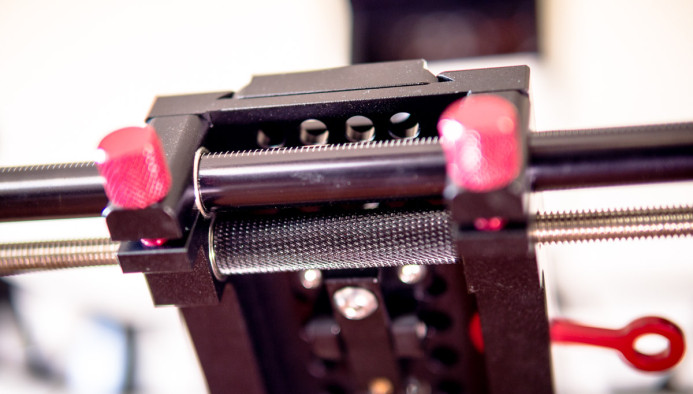
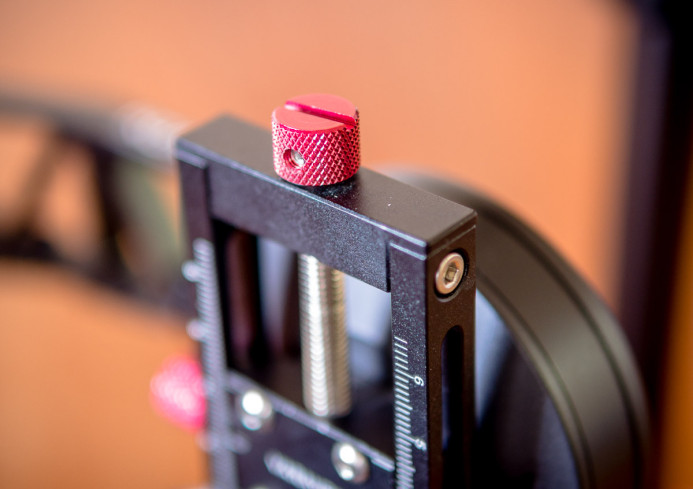
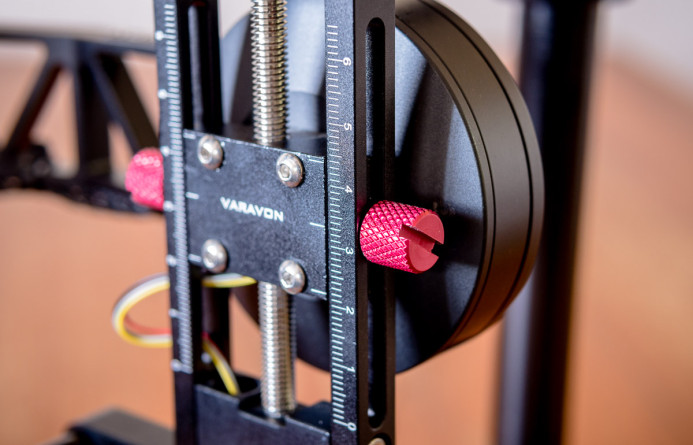
All adjustments required to balance the camera on the Birdycam 2 are completely tool-less. The Birdycam 2’s knobs are knurled for a sure grip, making adjustments easy whether you’re prepping for shoot in the studio, or in the middle of shooting on location.
3. Refined Micro-Adjustments
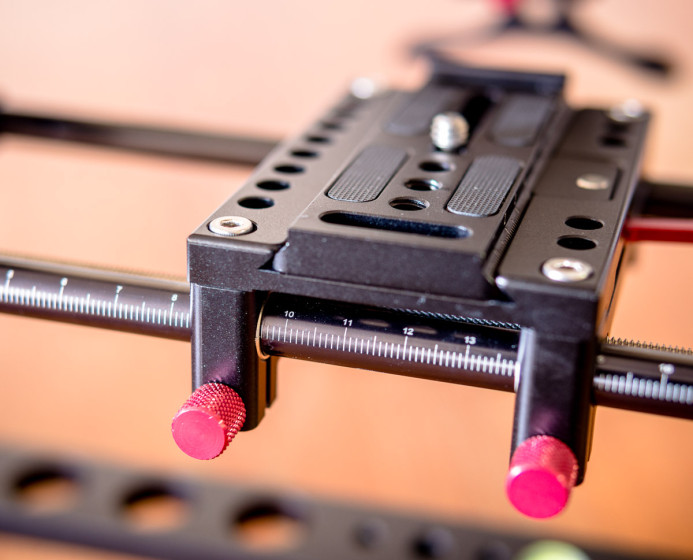
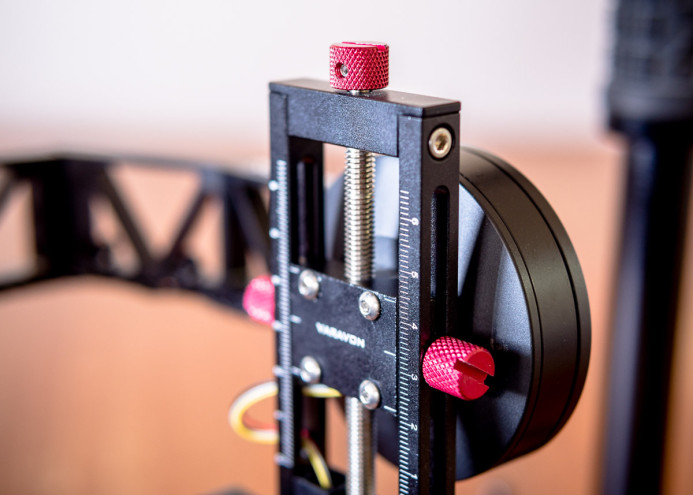
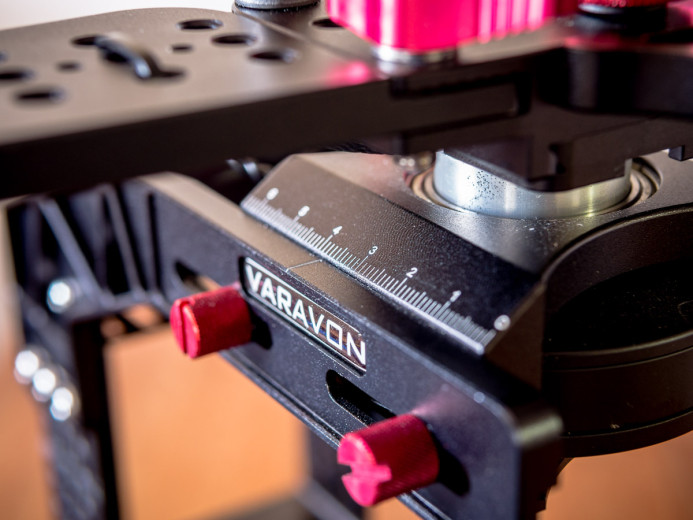
Tool-less adjustments are great, but the Birdycam 2’s micro-adjustments are awesome. The micro-adjustment controls make it a cinch to dial in the perfect balance for your camera setup.
Both the pitch and roll axes on the Birdycam 2 feature micro-adjustment knobs. The roll axis has a wide knob under the camera that is easy to adjust, while a pair of knobs on each side of the camera are are used to adjust the pitch axis with an impressive level of control.
Balancing the pitch axis with the micro-adjustment knobs can feel a bit slow because you have to make separate adjustments to both sides of the camera. However, the reference marks make it easy to match your settings on both sides, so it actually doesn’t take too long.
Unlike the pitch and roll axes, the yaw axis does not have any micro-adjustment controls. Thankfully, the yaw axis slides smoothly and also features reference marks that allow for precise adjustments without too much trouble.
4. Independent Axis Locks
Even with tool-less micro-adjustments, balancing can be difficult if you have the other axes shifting around when you’re dialing in the balance for one axis. Thankfully, the Birdycam 2’s pitch, yaw, and roll axes can each be locked down independently so that you can focus on balancing each axis without any distractions.
5. No Drama
All of these factors help to make the camera easier to balance on the Birdycam 2, but the biggest factor is how calm this gimbal is when you’re balancing a camera on it.
Some gimbals freak out when you’re your balance is off by a millimeter, but the Birdycam 2 isn’t finicky at all. This gimbal will hold the camera in position even when it’s just broadly balanced.
You could stop there and the Birdycam 2 would probably perform well, but the micro-adjustment controls make it too easy not spend a few more seconds to dial in the balance so that it’s absolutely perfect.
Bottom line: Balancing your camera on the Birdycam 2 is very easy thanks to a stable stand, tool-less micro-adjustments, axis locks, and solid construction.
Make Connections as Easy as 1-2-3
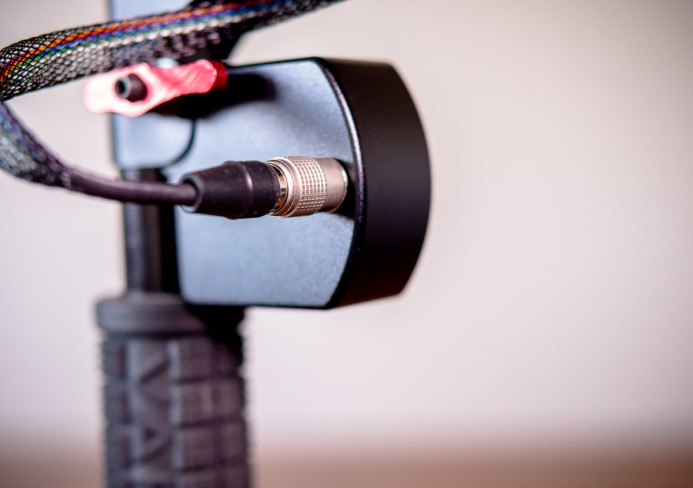
Once the camera is balanced, the only thing left to do is connect the power and control cables, which requires only 3 simple steps:
1. Connect the Joystick
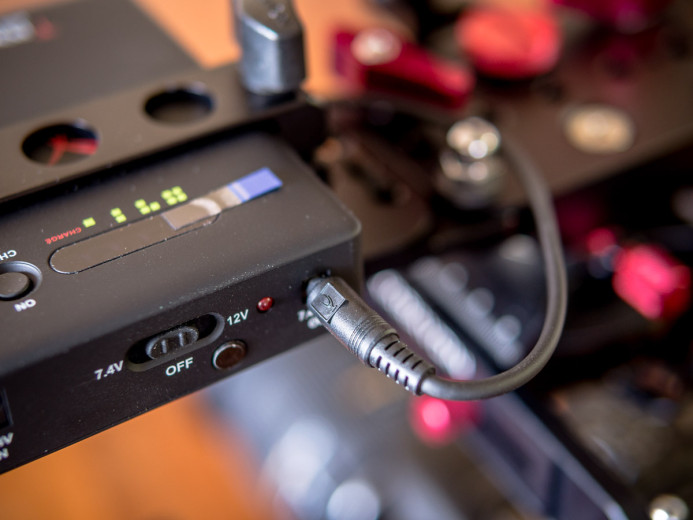
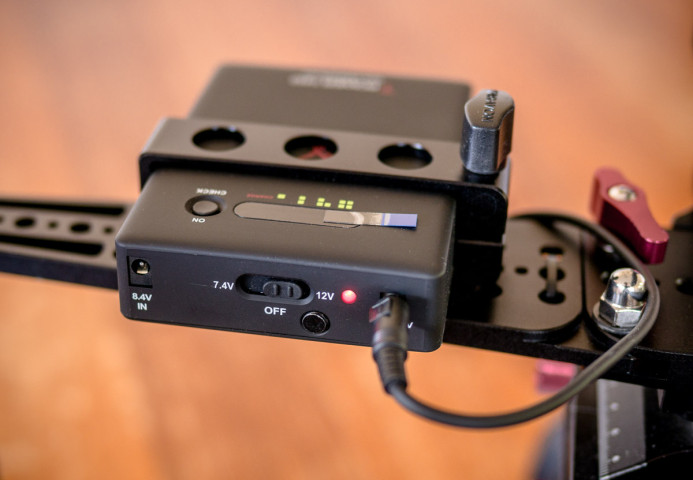
2. Connect the Battery Pack
3. Turn on the Battery Pack
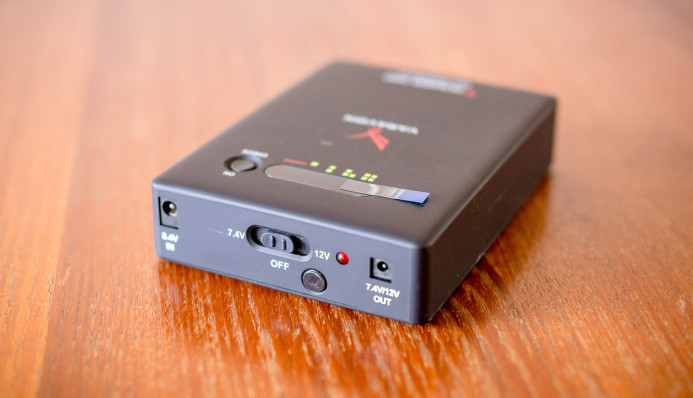
Switch the battery pack to 12V and the gimbal will power up.
Bottom line: Connecting the cables and turning the Birdycam 2 on is so simple that you might feel like you’ve missed a step.
Sparse Instructions
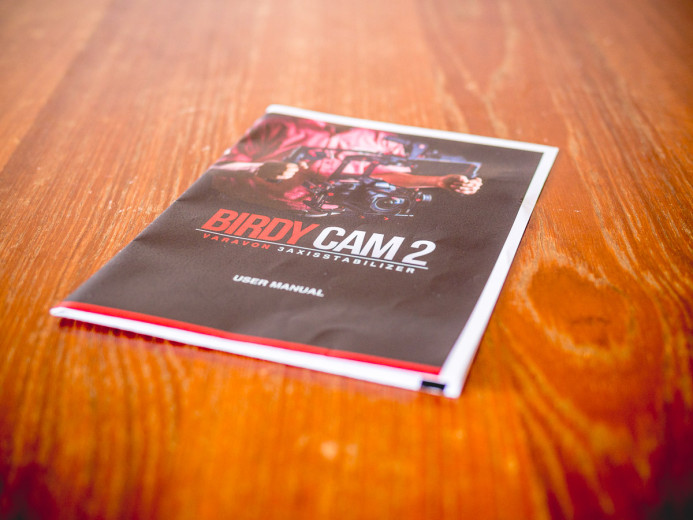
A 3-axis gimbal is a complex piece of equipment, so it can be a bit daunting to use if you don’t have any prior experience. To make matters worse, the “manual” included with Birdycam 2 is quite thin.
The instructions that come with the Birdycam 2 pretty much only cover balancing the camera– there isn’t even any documentation on how to switch between the gimbal’s different profiles. If you need a gimbal that comes with detailed documentation, the Birdycam 2 may not be for you.
However, despite the lack of printed instructions, there is some hope. Varavon has posted a step-by-step video on balancing the Birdycam 2. It would have been great if a link to this video was provided in the instructions that came with the Birdycam 2, but here it is for your reference:
Bottom line: The Birdycam 2’s included instructions are sparse, but more in-depth videos are available online.
Performance
The Birdycam 2 is very easy to set up for shooting. Now comes the real test, where we see how the Birdycam 2 performs out in the field.
The Torture Test
The hype surrounding 3-axis gimbals makes it seem like you can just toss the gimbal around you’ll end up with incredibly smooth footage. As a result, many users are surprised to find that getting great results with a gimbal requires a good amount of technique and even more practice.
In other words, if you just stomp around like an ogre (i.e. walking normally in my case) and don’t make an effort to absorb shocks and vibrations with your body, you will definitely end up with less stable footage.
So that’s how we torture tested the Birdycam 2.
We took the Birdycam 2 out for a walk (and a bit of running) around town, and zero effort was made to walk smoothly or otherwise stabilize the gimbal.
Also, thanks to the Birdycam 2’s open frame, the torture test was shot without an external monitor– all monitoring was done using the the GH4’s own rear screen.
We also shot the torture test without a subject in the frame, as a subject can mask a surprising amount of jitter and instability. Shooting just the environment makes these issues very apparent.
I’ll update this post with some video that we shot during the torture test soon, but here are some of our findings:
This torture test represents a worst-case scenario, and the Birdycam 2 performs quite well. For example, moving the camera from low to high angles was smooth. The camera was also quite stable when walking along while holding the gimbal above my head to shoot over a fence.
Up and down movement from my steps are visible in the footage– even more so when running– but this is where proper technique would play a big role in alleviating the bouncing.
There was also more jitter from the Birdycam 2 than expected. Proper technique will reduce this, but some tuning of the default profiles may be necessary as well.
A couple issues cropped up during the torture test. First, the Birdycam 2 would occasionally rotate the camera to the left or right, rather than keep it pointing directly ahead. I used the Birdycam 2’s joystick to correct the camera’s orientation when this happened.
Also, the Birdycam 2 spazzed out a couple times during shooting, where it would twist and stutter all over the place. Powering down the Birdycam 2 was the only solution we found to alleviate the issue during shooting.
Bottom line: The Birdycam 2 performed well in the torture test. Proper operating technique will help to improve results, but further tuning and testing is required to see how smooth the Birdycam 2 can truly be.
Tuning the Birdycam 2
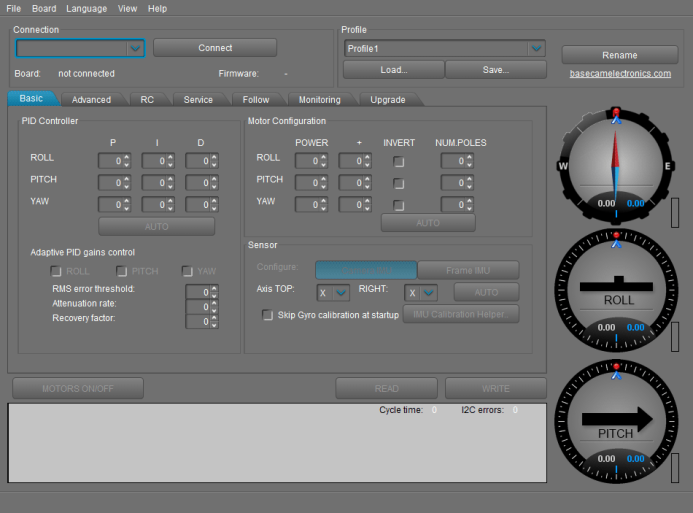
Like many gimbals on the market, the Birdycam 2 is built around a controller from Basecam Electronics. This means that you can customize the Birdycam 2’s profiles using Basecam’s free SimpleBGC GUI software.
Download: SimpleBGC GUI (32-bit)
For example, the Birdycam 2’s default follow settings are a bit slow, which may not provide the reaction speed that you need for certain situations (e.g. chase sequences). A quick tweak to one of the Birdycam 2’s profiles with SimpleBGC GUI is all it takes, and you’ll be back shooting in no time.
Important: Make sure to back up all of the Birdycam 2’s default profiles to your computer before changing settings so that you can revert back to them if necessary.
In fact, the Birdycam 2 has Bluetooth connectivity built-in, so you don’t even need to connect a cable to tune the gimbal’s profiles. That said, connecting the Birdycam 2 to your computer for the first time can be a bit daunting due to the lack of documentation.
Here are instructions for connecting to the Birdycam 2 over Bluetooth to help you get started:
- Set the Birdycam 2 on its stand.
- Turn on the Birdycam 2 and wait for the beep to confirm that it is ready to connect.
- On your computer, look for CRIUS in the list of Bluetooth devices. This is the Birdycam 2.
- Select the CRIUS device and connect to it.
- When prompted for the password, enter: 1234.
- Launch SimpleBGC GUI once your computer has successfully connected to the Birdycam 2.
- In SimpleBGC choose the port that the Birdycam 2 is using and click the Connect button (this was COM port 7 on my computer, but this may differ based on the other devices you have connected to your computer).
A word of caution: Despite the name, SimpleBGC GUI is not simple to use. There are a lot of parameters that can be adjusted and it is possible to mess with– or even damage– the Birdycam 2 if you make the wrong changes.
I highly recommend downloading SimpleBGC GUI’s manual to get started. The software has a steep learning curve, but once you get a handle on what the software’s different settings do, you’ll find that you can tune the Birdycam 2 to behave exactly as you want it to.
Download: SimpleBGC GUI Manual
Bottom line: It has a steep learning curve, but SimpleBGC GUI gives you complete control over tuning the Birdycam 2’s behavior.
Ten Second Startup
I’ve used some gimbals that are ready to go immediately, and others that take a bit of time to find their feet before you can start shooting. The Birdycam 2 falls into the 2nd camp with a somewhat sluggish 10 second startup time.
Ten seconds doesn’t sound like a lot, but when you’re holding back traffic and pedestrians for a shot, it can feel like an eternity. However, once you’re aware of this delay, you’ll quickly learn to turn the Birdycam 2 on early so that it’s ready to go when it’s time to shoot.
Bottom line: The Birdycam 2 takes 10 seconds to start up. Turn the gimbal on before you need it so that it doesn’t hold up production.
Versatile Battery Pack
Varavon claims that the included battery pack will power the Birdycam 2 for about 2 hours. We haven’t used the gimbal exclusively for an entire shoot, so I have yet to drain the battery to confirm the battery’s runtime.
You can stretch out the battery’s life by turning the Birdycam 2 off to save power when it is not in use. However, if you plan to use the Birdycam 2 heavily for a shoot, picking up an additional battery pack ($180) is highly recommended.
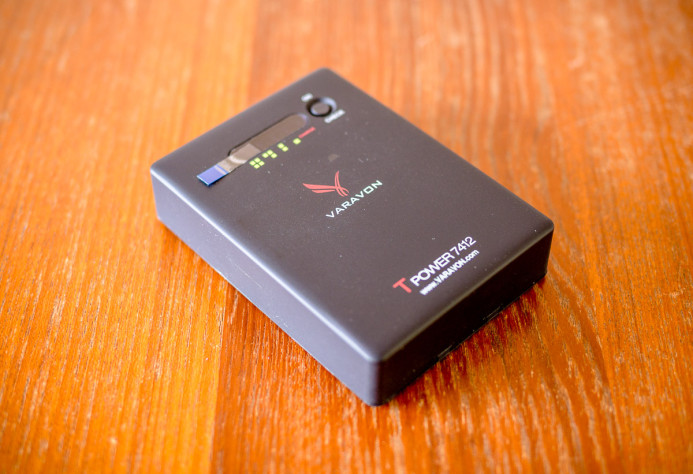
The nice thing about Varavon’s battery pack is that they’ve designed it to power more than just the Birdycam 2. The battery pack has dual outputs for powering a wide variety of devices that run on 7.4V, 8.4V, or 12V.
So in addition to the Birdycam 2, you can use Varavon’s battery packs to power LED lights, monitors, and even your camera. This makes a spare battery pack useful on shoots even if you’re not using the Birdycam 2 at all, helping to soften the blow of dropping the cash on a 2nd battery.
Note: Charging the battery pack takes about 4 hours.
Bottom line: The included battery pack should power the Birdycam 2 for about 2 hours, but the pack’s flexible voltage selection allows it to run other equipment such as LED lights, monitors, and cameras as well.
The Birdycam 2 Finds the Sweet Spot
In part one, we found the Birdycam 2 to be thoughtfully designed and packed with useful features. In part two, we are happy to find that these features do not come at the cost of reduced performance.
Thanks to smooth micro-adjustment controls and independent locks on each axis, the Birdycam 2 is easy to balance without tools or drama.
Setting up the Birdycam 2 is equally easy– connect two cables and you’re ready to go.
In fact, tuning the Birdycam 2’s profiles is probably the only complicated thing about this gimbal. The learning curve is high, but once you’re familiar with the SimpleBGC GUI software, you can really dial in the Birdycam 2’s behavior to suite your needs.
All in all, Varavon’s Birdycam 2 gimbal hits the sweet spot of being easy to use, providing solid performance, and delivering smooth footage. It is a strong contender if you are shooting with lightweight cameras like the Panasonic GH4 and Sony a7S and need a gimbal that can pack down into a small space for traveling, etc.
Related
- Varavon Birdycam 2
- Varavon Birdycam 2 with Remote Controller — Allows a 2nd operator to control framing and composition.
- Spare Birdycam 2 Battery Pack (also includes a coupler for powering the Panasonic GH4)
- SimpleBGC GUI Software — Software for tuning the Birdycam 2’s profiles.
- Panasonic GH4
- Sony a7S
Stabilizing the Panasonic GH4
3-Axis Gimbals
- 3-Axis Brushless Gimbals: The Definitive Guide
- Five 3-Axis Brushless Gimbals for the Panasonic GH4
- Review: Varavon Birdycam 2
Sliders
- Stay on Track: Using Sliders with the Panasonic GH4
- 10 Things You Should Know Before Buying a Slider for the Panasonic GH4
- 6 Purpose-Built Sliders for the Panasonic GH4
- Cinevate Duzi Slider Review: Solid, Compact, Smooth
More Panasonic GH4 Guides
- Why You Should Be Excited About the Panasonic GH4
- Lenses for the Panasonic GH4 — Awesome glass for an awesome camera.
- Memory Cards for the Panasonic GH4 — Get the right memory cards for HD and 4K.
- Configuring the Panasonic GH4 for Video Production — Set the GH4 up for filmmaking.
- Rigging the Panasonic GH4 — Cages, Rigs, Components, Gear, and Reviews.
- Stabilizing the Panasonic GH4 — Tripods, Monopods, Sliders, 3-Axis Gimbals, etc.
- Maximizing the Panasonic GH4’s Audio Performance — Sound matters.
- Powering the Panasonic GH4 — Keep the GH4 shooting all day.
- Should you buy the YAGH for the Panasonic GH4?
- 6 Reasons Why DSLR Shooters Love the Panasonic GH4
