Food Photography Friday: Build Worlds
Welcome to the first Food Photography Friday of 2014! I’m on a mission to learn the secrets of taking mouth-watering photos of food. Each week I share the story behind a shot (or series of shots), lessons I’ve learned, and of course, photos of tasty food.
You Build Worlds
Great photography is about building worlds— creating a reality that is so visceral that the viewer just melts into it. As the photographer, you set the tone and scope of this world.
Building a world that is both well-rounded and intriguing is especially important for food photography, where you must compensate for the lack of senses (taste, smell, etc.) that the viewer usually has access to when interacting with food. They cannot hear the sizzle of the meat as it arrives at your table, nor can they taste the rich flavors as you bite into it for the first time.
Therefore, the world you build through your images is responsible for how appetizing the food is to the viewer.
In this post, we’ll be covering some of the most useful techniques for crafting bigger and better worlds for viewers when shooting food.
Use the Environment
Including the environment around the food you’re shooting is a great way to build a world that the viewer can connect with. The environment goes a long way toward setting the tone and ambiance of a story.
Of course, it’s not always easy to take environmental shots in a restaurant where other patrons may not appreciate being photographed while enjoying a meal.
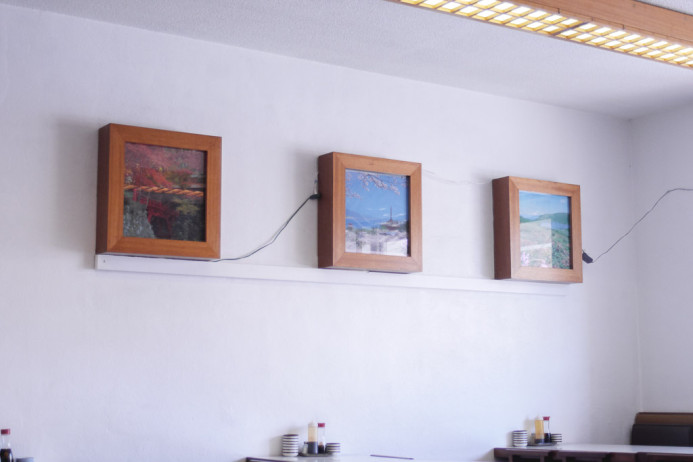
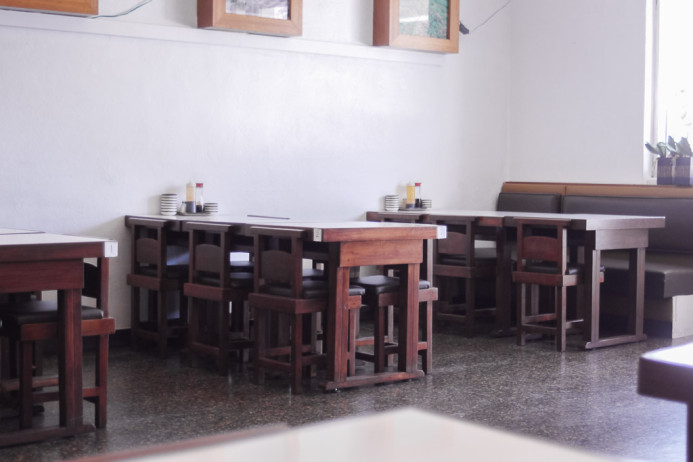
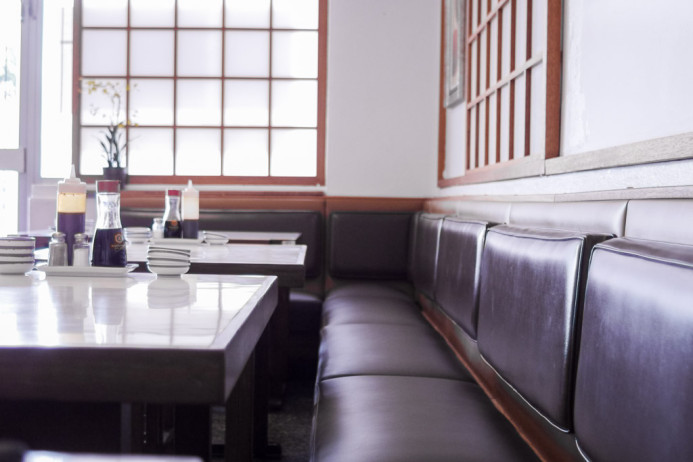
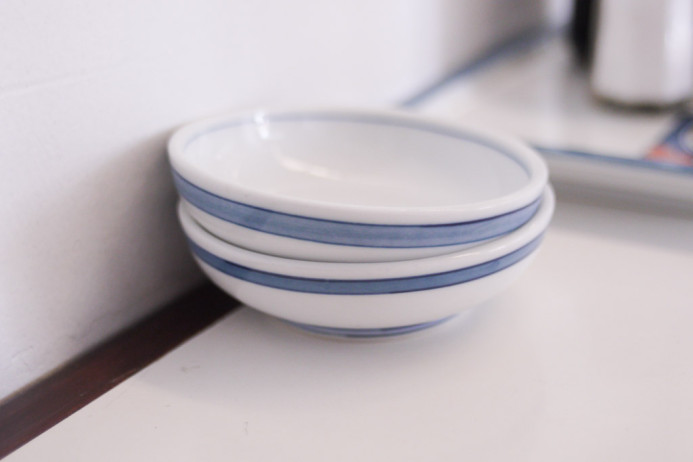
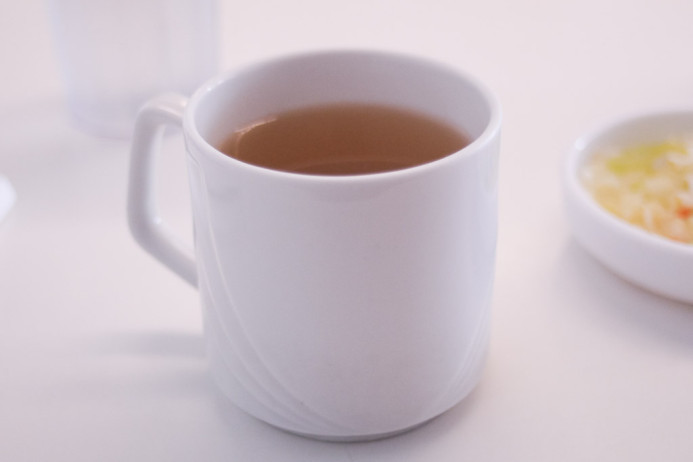
We must have come to Song’s Korean BBQ just after the lunch rush because there are no other diners when we arrive. This presents the perfect opportunity to capture the environment surrounding today’s meal.
As we’ll discuss in the next section, starting with a wider shot is a great way to establish the environment and give the viewer some context for the shots that follow. With the viewer firmly situated in our world, we can now work our way down and focus on the food.
Establish Context, Then Add Detail
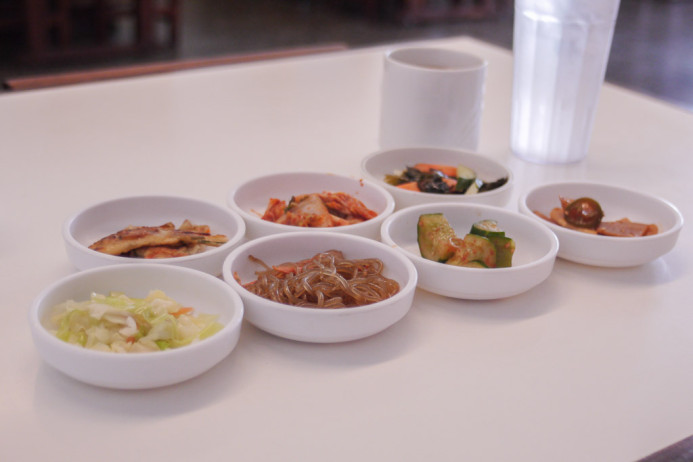
The first thing our server brings to our table is the Banchan (Korean side dishes).
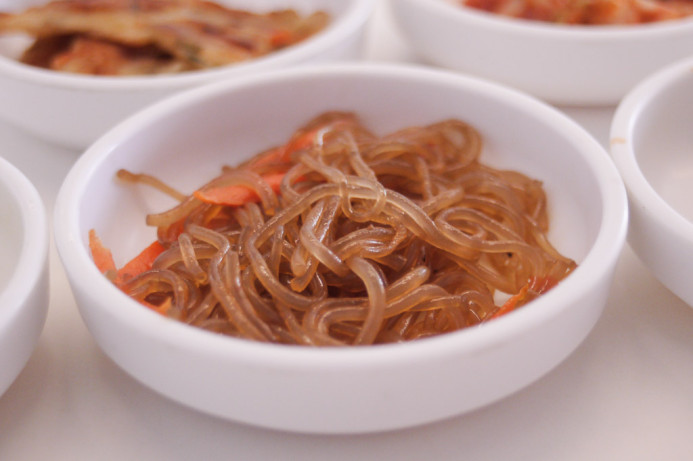
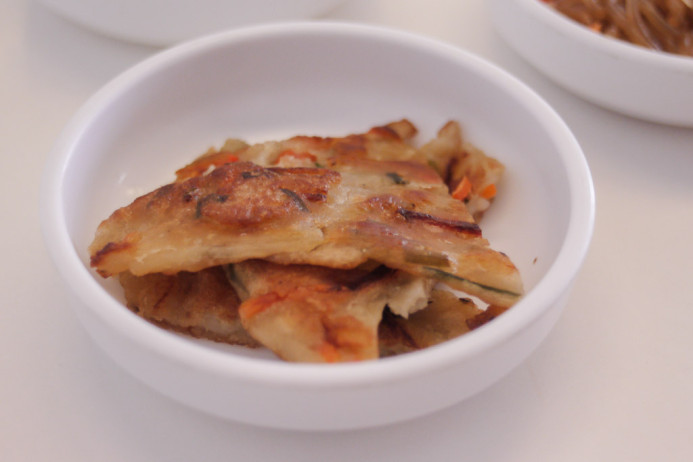
As with the surrounding environment, starting with a wide establishing shot is useful for food as well. Give viewers the “lay of the land” of a dish first so that the subsequent shots that focus on smaller details will make more sense and be more interesting.
Pro Tip: Natural Lighting FTW
Natural light is especially ideal for rendering food in an appetizing way. So while there are some fluorescent lights in the restaurant, the interior is thankfully awash in sunlight pouring in from two large glass windows at the front of the restaurant.
Pay close attention to the lighting conditions when you walk into a restaurant. If you’re being seated in an area with a lot of shadows or artificial light, point out another area with better light and ask the host if you can be seated there instead. Your photos will turn out better and your viewers will thank you.
Get All Your Dumplings in a Row
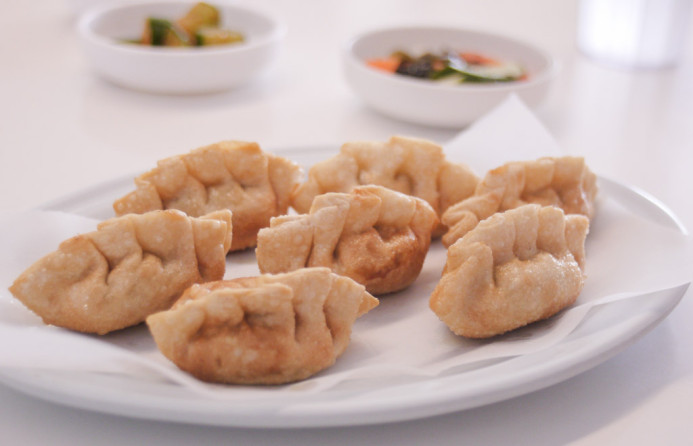
Now the main entrées begin to arrive, starting with one of my all-time favorite foods, which also happens to be my baseline for rating all Korean restaurants– Fried Mandoo.
I was pleased by the care Song’s took in the presentation of the delicious dumplings, so when composing the establishing shot, I experimented to find the best angle to capture their creativity on the plate.
Pro Tip: Experiment with Angles
Don’t just take one picture of a plate and move on. Food comes in many different shapes and sizes, each of which has an ideal angle to be photographed from.
This is called the angle of attack.
Even if you think you know what the best angle for a particular dish is, experiment with different angles. Rotate the plate and move your camera around it (higher, lower, left, and right) to find the angles that make the food look both interesting and delicious.
I took several shots of the fried mandoo from multiple angles before settling on the one I used above.
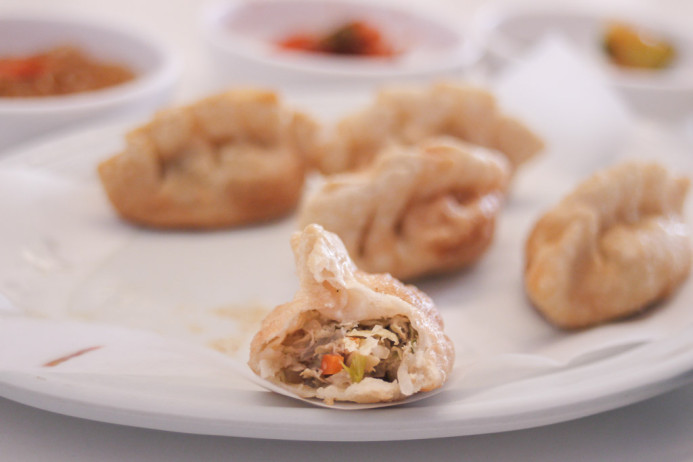
As before, start with a wide establishing shot and then move in closer to focus on some interesting details.
Mix it Up
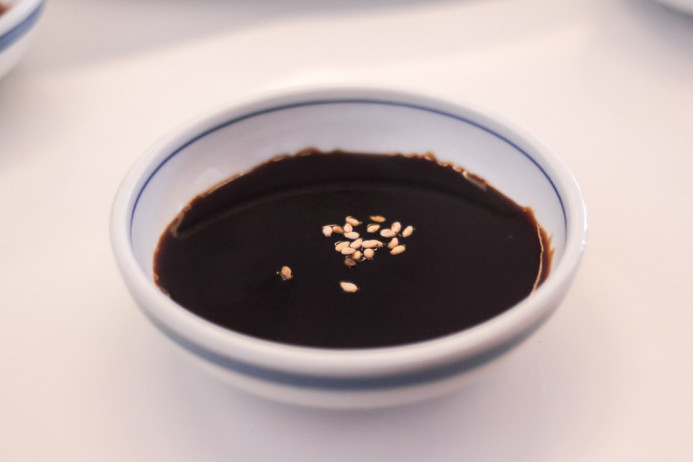
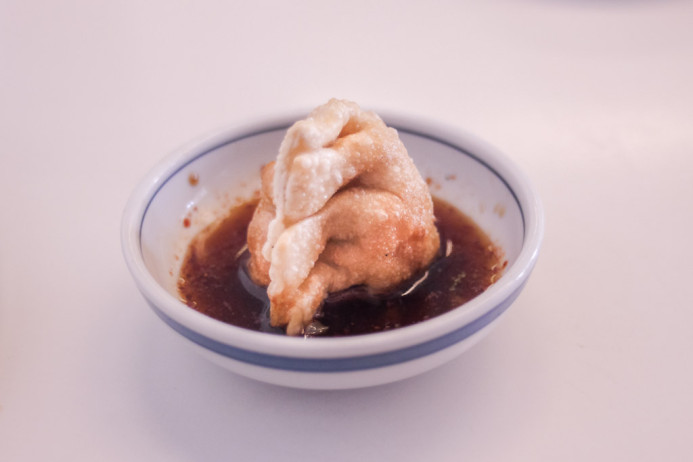
You may have noticed that one of those shots is not like the others. No one ever said you have to present food as it arrived on the plate. Sometimes it’s a good idea to mix things up and shoot a piece of mandoo like a shark fin rising out from an ocean of dipping sauce.
This is fun, but it’s also about making a habit of looking at food differently. It’s easy to look at a sandwich and shoot it just like you’ve shot other sandwiches because it worked well in the past.
Each dish presents a new opportunity to learn something new and present the food in a way that you haven’t before.
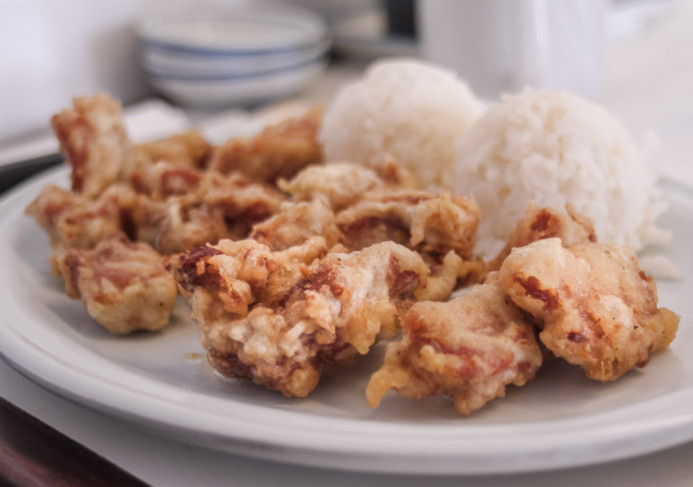
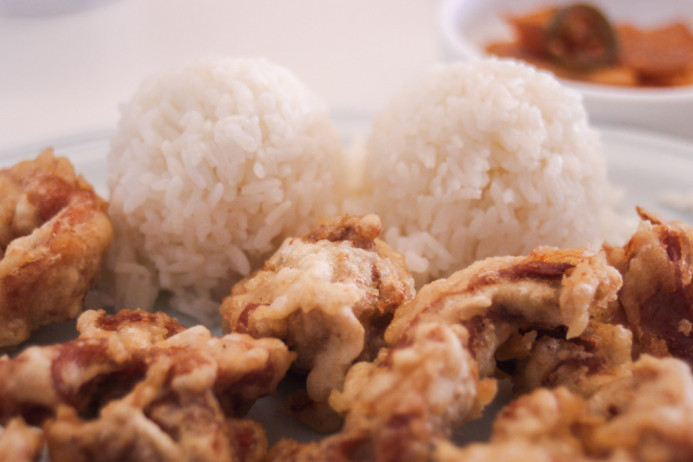
For example, while I start with a wider establishing shot of this plate of Mochiko Chicken, I then get in closer to find other ways to frame the dish.
Keep It Simple
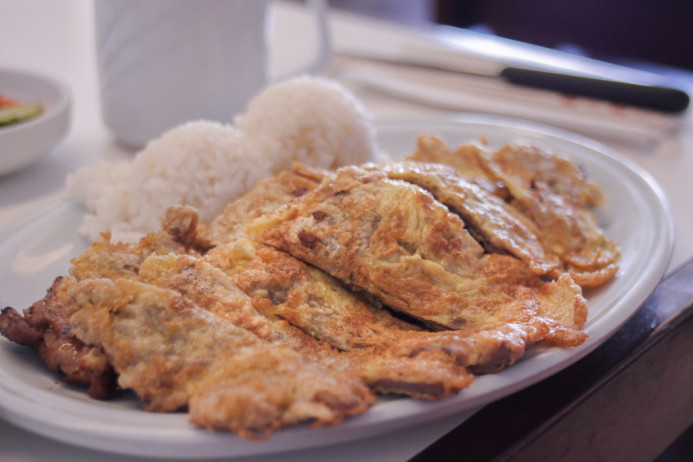
At the same time, sometimes a simple, well-composed shot is all you need. For an egg-laden and sometimes oily dish like Meat Jun, getting closer may not increase its allure. In such cases, just keep it simple.
Finish the Story
Whether it’s a single shot or a series of photos, your pictures tell a story. Therefore, don’t leave your viewers hanging without bringing that story to a close.
This is the last step in building an immersive universe for the viewer. A good ending gives the viewer a graceful exit from the world you’ve crafted, and gently sets them down back into the real world.
I hope you’ve enjoyed this week’s post as much as I enjoyed the food at Song’s Korean BBQ. Leave a comment below to let me know what you liked (or didn’t).
See you next week on Food Photography Friday where I’ll share another story and the lessons I’ve learned about taking delicious photos of food!
Gear/Setup
Related
- Song’s Korean BBQ — If you’re in Waipahu, Hawaii, Song’s is definitely a place you want to check out for lunch or dinner.
- Food Photography Friday: That Looks Delicious
