Panasonic GH4 & 3-Axis Gimbals: The Definitive Guide
3-axis brushless gimbals are one of the newest stabilization options for shooters who want smooth footage, but is it a good match for the Panasonic GH4?
Gimbals are certainly exciting with their promise of delivering smooth footage even when you’re running at full speed. Traditional handheld stabilizers like a Glidecam can be unwieldy, temperamental, and come with a steep learning curve just to get usable results. A gimbal sounds like the solution to all of your problems.
In reality, while a gimbal has many benefits, it also comes with it’s own list of caveats. This guide will help you determine whether a 3-axis gimbal is the right tool for your needs.
Here’s a look at what kind of footage 3-axis gimbals are capable of when used by an experienced operator:
I stress “experienced operator”, because even though a gimbal lowers the learning curve in some ways compared to something like a Glidecam, it’s important to know that 3-axis gimbals still require a lot of practice and experience to get great results.
If you’re cool with that, let’s dig in:
What is a 3-Axis Brushless Gimbal?
The simplest way to understand what a 3-axis brushless gimbal is, we need to work backwards:
- Gimbal — A device that keeps the camera level by pivoting around it.
- Brushless — The gimbal uses electric brushless motors to stabilize the camera.
- 3-Axis — The gimbal stabilizes motion in 3 axes: pitch, roll, and yaw.
3-Axis gimbals first gained popularity as a way to stabilize aerial footage from remote-controlled drones, but we’ll be focusing on using handheld gimbals with the Panasonic GH4 in this guide.
How Does a 3-Axis Gimbal Work?
Gimbals bring together an array of complex electronics, sensors, motors, and physics to accomplish the seemingly impossible task of canceling out motion on the fly before it reaches the camera.
Basically, a motor is placed on the 3 different axes around the camera. When the sensors detect motion on these axes, the motors counteract that motion to cancel it out almost instantly. This keeps bumps and jolts from ever reaching the camera as it sits motionless in the middle of all of this activity.
In other words, a brushless gimbal is a robot Tai Chi master.
What Makes a Gimbal Special?
By using modern technology to cancel out external movement, the camera is able to remain very stable. This allows you to capture smooth footage that would otherwise only be possible with a counterweighted stabilizer like a Steadicam or Glidecam.
One of the other unique benefits of a gimbal is it’s ability to keep a level head under pressure.
Traditional stabilizers rely on counterweights to smooth camera movement. This works well, but it also makes them sensitive to external forces like the wind or the inertia from when you turn a corner. As a result, keeping the camera consistently level with the horizon is difficult as a counterweighted stabilizer has a tendency to sway.
Worse yet, once the swaying starts, it can be difficult to smoothly get it under control, which can result in footage that looks like it was filmed on a boat out at sea.
By contrast, a brushless gimbal uses sensors and motors to keep the camera absolutely level despite how you may be holding it, so you can say sayonara to seasickness.
This ability to remain straight and level makes a gimbal similar to sliders and dollies that use tracks to move the camera along a straight path. In some cases, it is even possible to simulate slider moves with a brushless gimbal— the key is keeping the camera vertically level as the gimbal does its magic to keep the camera level with the horizon.
How Do I Shoot with a Gimbal?
Most gimbals can be used in several different configurations:
Handlebars
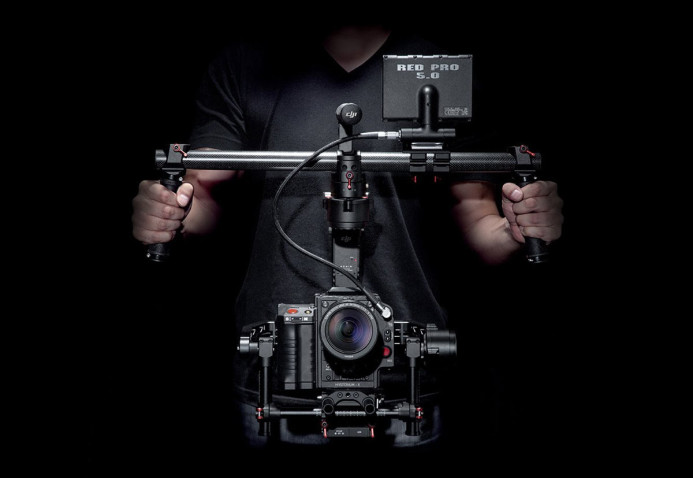
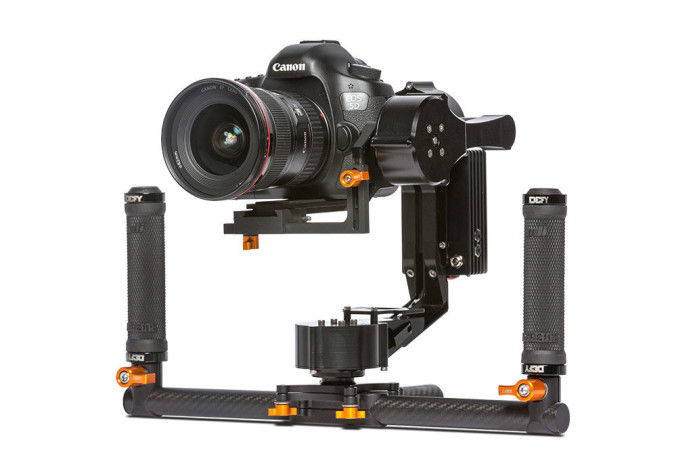
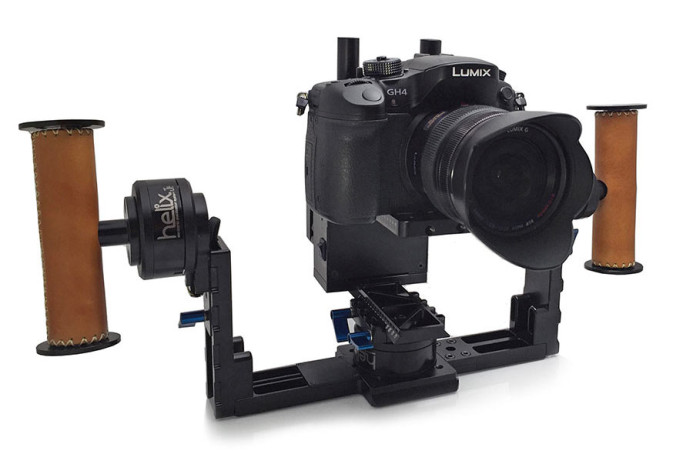
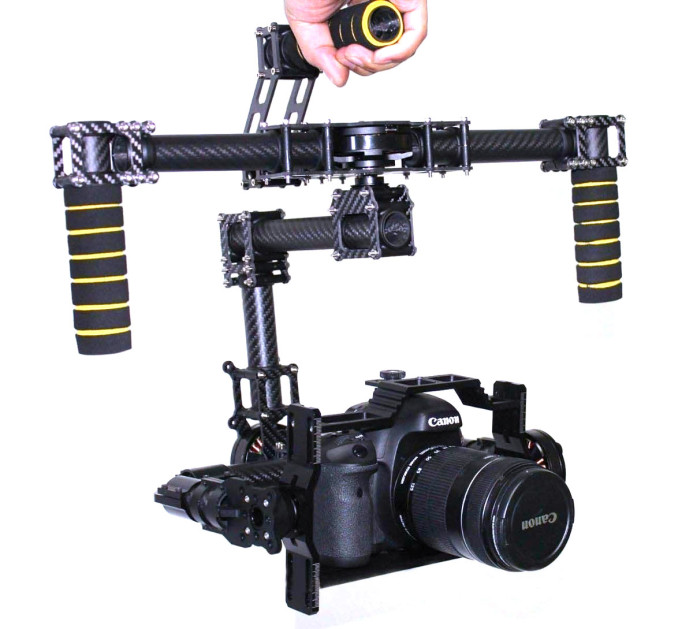
Most 3-axis gimbals have handlebars that extend out to the sides, allowing you to support the gimbal and camera with both arms.
The gimbal is easy to control in this mode and is good for shooting mid-level angles. However, you need to raise the handlebars higher to shoot at eye-level, which increases strain and fatigue on your arms and shoulders.
Inverted Handlebars
Some gimbals can be inverted so that the handlebars are below the camera. This allows you to keep your arms lower while shooting at eye-level, which helps a lot with strain and fatigue.
In fact, some manufacturers like Letus Direct have designed gimbals that are inverted by default for this very reason.
Top Handle
Most gimbals also have a top handle that allows you to operate the gimbal with just one hand. The top handle is also useful when shooting low to the ground.
Is a Gimbal Difficult to Use?
In many ways, brushless gimbals have drastically reduced the learning curve for shooting ultra-smooth footage compared to traditional counterweighted stabilizers. Thanks to the technology packed into a gimbal, much of the work you used to have to learn to do manually is taken care of by sensors and motors.
However, many concepts and skills from operating counterweighted stabilizers can be directly applied to shooting with a gimbal.
For example, the camera needs to be properly balanced on the gimbal to allow the motors to perform well. An unbalanced camera can cause increased vibrations as the motors try to compensate for the imbalance. This will also cause the motors to use more power than necessary.
Several techniques are also very valuable when operating a gimbal. Walking smoothly to reduce bumps in your steps and absorbing shock with your arms to keep the camera level are two techniques that have a noticeable impact on your footage.
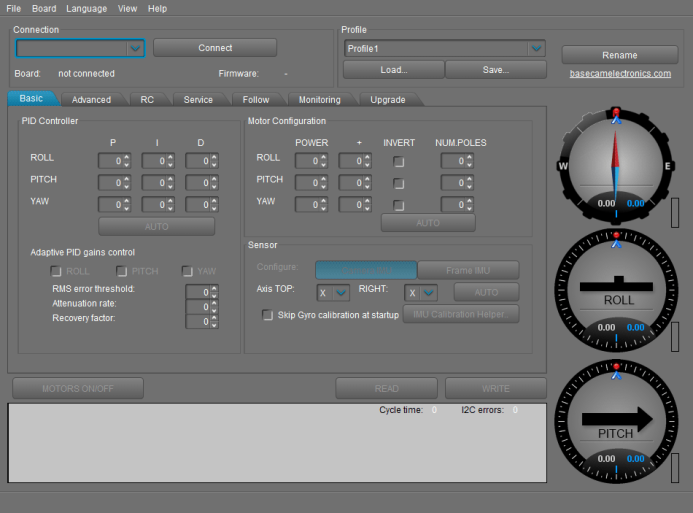
Additionally, a gimbal requires you to learn new technical skills as well. The gimbals complex electronics are configured via software that you will need to become well-acquainted with in order to tune the gimbal for the best performance when using different lenses and cameras.
Born to Run: When Should I Use a Gimbal?
A gimbal is particularly useful when you need to capture smooth footage while maintaining freedom of movement. For example:
- Making your way through a crowded and brightly-colored bazaar as you chase a small monkey named Abu.
- Following someone as they head from their car in the parking lot, up flights of stairs, down hallways, and in to their office at work (only to find out they were fired).
- Running through the woods with a pack of wild wolves (like they did in Twilight, right?)
- Filming a person on a bicycle as you ride alongside them in a car (you tossed a coin, and you got to be in the car).
Also, because gimbals are adept at keeping the camera level, it can also be used to simulate a slider’s linear movements. Though it may take some additional takes to keep the camera vertically level, this is a nice capability to have when you cannot bring a slider with you.
On the flip side, a gimbal is not the best option for extended shooting. This is especially true if you don’t have any additional way to support the weight of the gimbal and camera, as your arms alone will only last for so long.
Of course, if you’re looking to capture footage with an organic handheld look, then a gimbal is definitely not the right tool for the job. In such cases, a handheld rig is a much better option.
What are a Gimbal’s Drawbacks?
Like any tool, there are benefits and drawbacks to brushless gimbals that you need to be aware of when evaluating whether it’s right for you. Here are some of the downsides to shooting with a gimbal:
- Requires power — Controllers, sensors, and motors all require power, so you’ll have to remember to bring enough batteries to last for your entire shoot.
- Takes time to balance — The camera needs to be properly balanced on the gimbal each time you change cameras or lenses.
- Requires technical savvy — You will need to be adept at using computers and electronics to configure and tune the gimbal for the best results via software.
- Tiring to use — A gimbal’s form factor requires you to hold it out in front of you with both arms when shooting, putting strain on your arms and shoulders.
- Learning curve — A gimbal is not something you just pick up and use. You need to become familiar with its controls and different modes of operation to get good results.
- Bulky — A gimbal’s wide handlebars and rigid frame make it more difficult to travel with and use in small spaces compared to just the compact GH4 and a minimal handheld rig.
- Requires external m0nitoring — The GH4’s EVF and rear screen are obscured when mounted on most gimbals, so you’ll need an external monitor just to see what you’re shooting.
- Requires a stand — Many gimbals cannot be set down without the aid of a stand, so this is something you’ll need to bring with you wherever you go with a gimbal.
- Price — Gimbals are still quite new, so prices are high at the moment ($2K+ for high-quality gimbals).
Choosing a Gimbal: What Features Do I Look For?
We’ll be taking a look at the best gimbals for the GH4 in the next guide, but here are the important features that you should look for when choosing a gimbal for any camera:
- Weight Capacity — The gimbal must be able to support the GH4 and the lens you intend to shoot with. For example, the gimbal should support at least 1kg to handle the GH4 and a small lens.
- Tool-less adjustments — Balancing the camera will go much faster if the gimbal features tool-less adjustments for adjusting the camera sled’s position in the gimbal.
- 32-bit Controller — Better performance and more control via software compared to the older 8-bit controllers.
- Spacious camera sled — The sled needs to be large enough to properly balance the camera and lens you’ll be using. Longer lenses will require the camera to be moved further back, so the sled needs to be able to accommodate this.
- Quick-Release camera plate — Quickly mount and remove the camera from the gimbal.
- Industry-standard mounting options — Some gimbals use non-standard tubing for its frame, which requires proprietary attachments for mounting monitors and other accessories. Industry-standard mounting options such as 15mm rods and 1/4-20 threaded holes allow you to mount accessories using readily-available gear.
- Solid customer support — Gimbals are complex tools that may require a good deal of tweaking and adjustment, so you want a responsive company that won’t leave you hanging when you have a problem.
Does a Gimbal Work Well with the Panasonic GH4?
As long as a gimbal is well-made and has the weight capacity to support the GH4 and the lenses you will be using, it can work very well with the GH4.
Furthermore, the GH4’s compact size and low weight means that you can also use smaller and lighter gimbals. This makes a big difference when you’re shooting all day, as a heavy gimbal alone will take quite a toll on your body.
The GH4 and a small gimbal might be the perfect pair for shooting smooth footage while on the move.
While brushless gimbals may not be the right tool for every shot, they are surprisingly versatile and have the potential to unlock new ways for us tell stories with more flexibility than ever before.
The next guide will cover the best 3-axis gimbals for the Panasonic GH4. Sign up below to be notified automatically when that guide is available.
Related
- Panasonic GH4 — A compact camera that works well with brushless gimbals.
Stabilizing the Panasonic GH4
3-Axis Gimbals
- 3-Axis Brushless Gimbals: The Definitive Guide
- Five 3-Axis Brushless Gimbals for the Panasonic GH4
- Review: Varavon Birdycam 2
Sliders
- Stay on Track: Using Sliders with the Panasonic GH4
- 10 Things You Should Know Before Buying a Slider for the Panasonic GH4
- 6 Purpose-Built Sliders for the Panasonic GH4
- Cinevate Duzi Slider Review: Solid, Compact, Smooth
More Panasonic GH4 Guides
- Why You Should Be Excited About the Panasonic GH4
- Lenses for the Panasonic GH4 — Awesome glass for an awesome camera.
- Memory Cards for the Panasonic GH4 — Get the right memory cards for HD and 4K.
- Configuring the Panasonic GH4 for Video Production — Set the GH4 up for filmmaking.
- Rigging the Panasonic GH4 — Cages, Rigs, Components, Gear, and Reviews.
- Stabilizing the Panasonic GH4 — Tripods, Monopods, Sliders, 3-Axis Gimbals, etc.
- Maximizing the Panasonic GH4’s Audio Performance — Sound matters.
- Powering the Panasonic GH4 — Keep the GH4 shooting all day.
- Should you buy the YAGH for the Panasonic GH4?
- 6 Reasons Why DSLR Shooters Love the Panasonic GH4
