10 Things You Should Know Before Buying a Slider for the Panasonic GH4
Ready to pick up a slider for the Panasonic GH4? Make sure you choose the right slider by following these 10 simple steps.
A camera slider is an excellent way to add production value to your projects with smooth, controlled, and purposeful camera movements that help to guide the viewer through your story.
Shooting with a slider can make a big difference, but if you choose the wrong slider, your production can quickly go downhill due to unnecessary bulk, slow setup, poor control over the camera, and worst of all, wobbly footage.
When you’re shooting on a slider, one wrong move can ruin the whole shot.
Follow this 10 step checklist to ensure that you choose a slider that is easy to carry, quick to set up, and delivers silky-smooth footage every single time.
Free Download: Interactive Slider Checklist
Use this checklist to quickly and easily see how a slider stacks up and whether it will meet your needs. You’ll also receive future resources and updates to help you tell your stories.
Pay $0 or more for this resource. How much? You decide!
1. Start off with the Right Roller
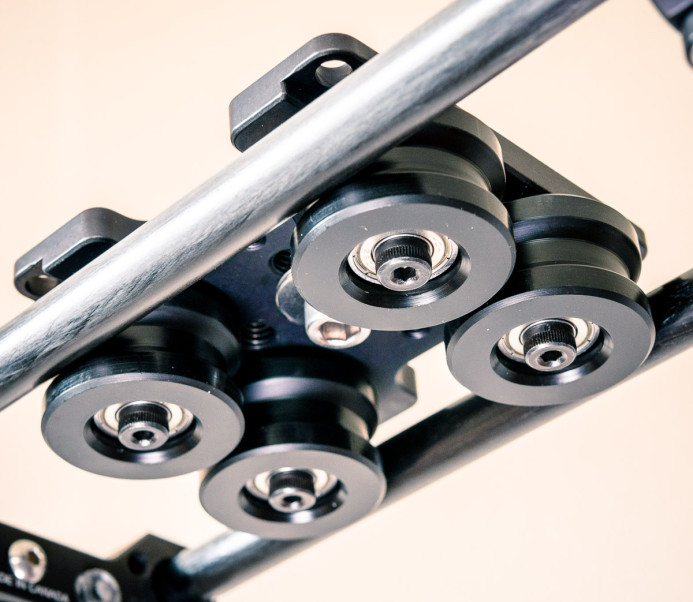
We could go deep into a discussion on the pros and cons of different types of sliding solutions, but I’ll make this simple– get a slider that uses ball bearings.
A slider with ball-bearings that lock on to the track has several benefits:
- Flexible orientation — The slider will stay on the track in any position or angle you’ve set– horizontal, vertical, diagonal, and even upside-down.
- Smooth — Bearings slide smoothly along the track with just a light touch, while polymer-based sliders can stutter, especially under heavier loads.
- Quiet — Smooth bearings remain quiet when sliding slowly along the track.
- Adjustable — Many bearing-based sliders have adjustable tension that allows you to dial in the perfect balance of control and smooth movement.
Bottom line: Accept no substitutes. Get a slider that uses ball bearings.
2. A Smooth Operator Needs a Smooth Track
A smooth track is essential for smooth camera movements. The tiniest bump will show up in your footage.
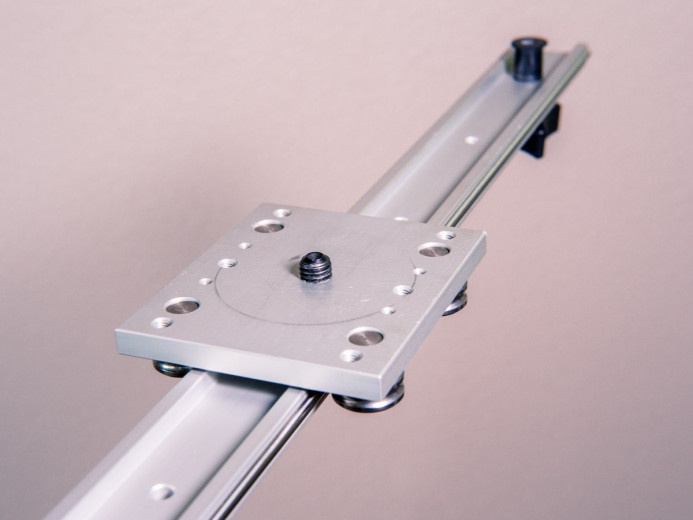
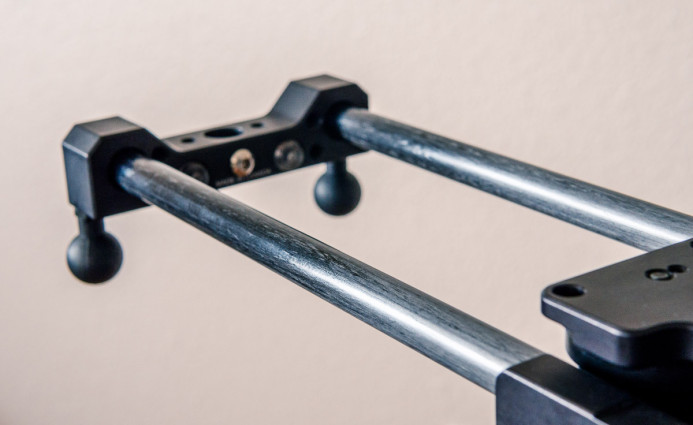
There are two common types of tracks for small sliders– a solid rail or two separate rods. When it comes down to it, both types of tracks work well as long as they are smooth.
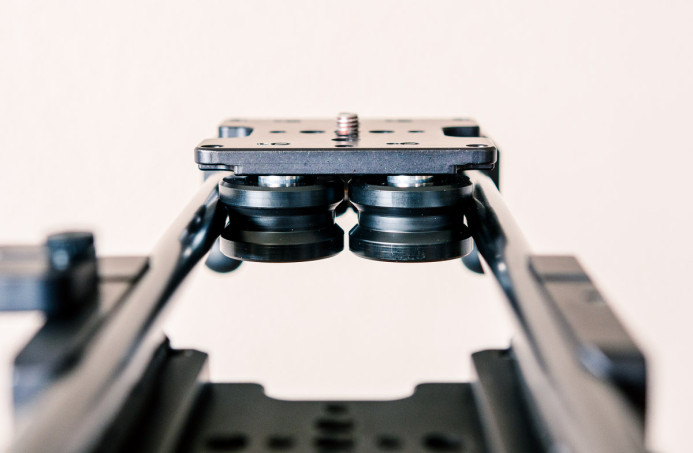
However, it’s important to keep in mind that the outside of the slider is the most vulnerable to damage. Therefore, carriages with bearings that slide along the outside of the track will be affected by any nicks or dents on this exposed area, and will definitely show in your footage.
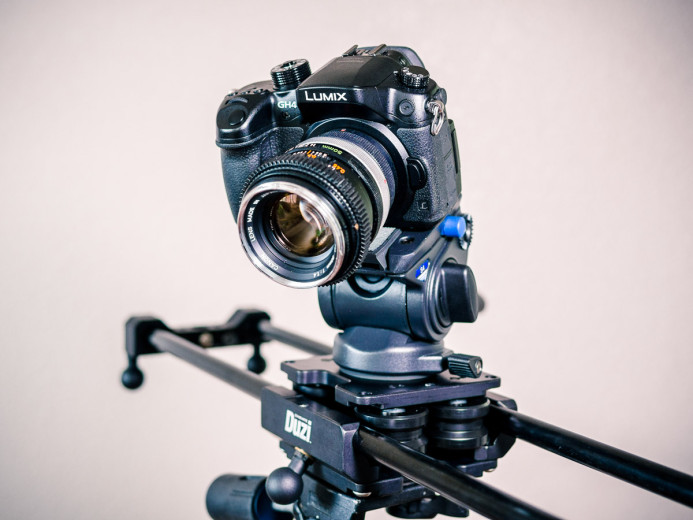
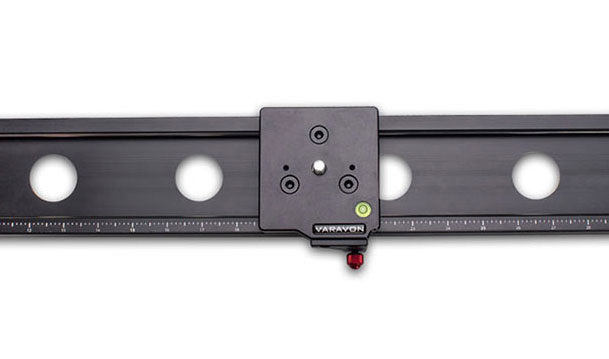
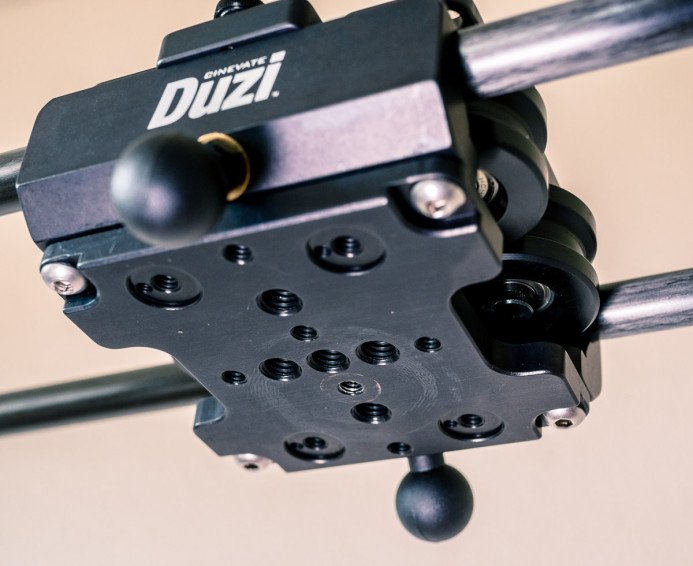
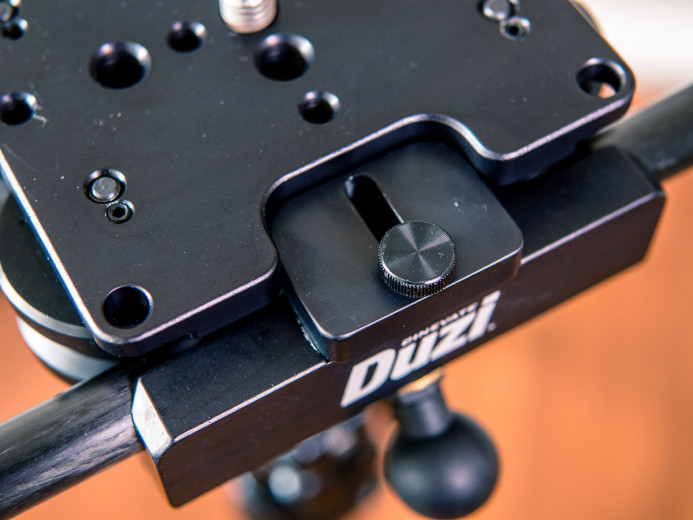
For the most protection against damage that will affect the slider’s performance, you can choose a slider with bearings that roll along the inside of the track such as Varavon’s Slidecam EX or Cinevate’s Duzi.
However, these types of sliders not as common, so if you choose a slider with bearings that roll along the outside of the track, make sure you take great care to avoid damaging the slider by keeping it in a protective case whenever the slider is not in use.
Pro Tip: If you shoot frequently in environments with a lot of sand or dirt (like the beach), rod-based sliders are easier to keep clean than sliders with enclosed rails.
Bottom line: Sliders with bearings that roll along the outside of the track are more vulnerable to damage. A single dent can affect the slider’s performance.
3. Check the Slider’s Weight Capacity
The GH4 is a lightweight camera, but it’s still important to carefully review a slider’s weight capacity to ensure it can handle your entire setup.
Make sure there’s a good buffer between your camera setup and the slider’s maximum weight capacity. You do not want to use a slider at its limits as this can result in stuttering and can make the slider difficult to control.
Furthermore, the slider must be able to handle an even heavier load if your camera setup is front or back heavy (e.g. due to a large lens), as that exerts more stress on the slider.
The slider for the GH4 should support a minimum of 9lbs. Of course, while a higher weight capacity is better, it’s not necessary to go all out for a slider just because it can handle a heavier load if you’ll never use it to its full potential.
Sample Camera Setups
Here are a few sample setups with the GH4 to give you an idea of what type of weight capacity your slider will require:
- GH4 + Panasonic 12-35mm f/2.8: 1.9lb (865g)
- GH4 + Panasonic 35-100mm f/2.8: 2lb (920g)
- GH4 + Olympus 12-40mm f/2.8: 2.1lb (942g)
- GH4 + Sigma 18-35mm f/1.8 (w/Metabones EF Speed Booster): 3.4lb (1547g)
- GH4 + Canon FD 50mm f/1.4 (w/adapter): 2.1lb (974g)
- GH4 + Rokinon Cine 35mm T1.5 (w/adapter): 2.9lb (1304g)
Here are some additional accessories that you may want to factor in as well:
- Fluid video head: 2lb (892g)
- LCD Monitor (4″-5″): 0.6lb (252g)
- GH4 Cage: 0.7lb (317g)
- Baseplate with 15mm rods: 0.9lb (406g)
- Follow Focus: 1lb (432g)
Bottom line: Get a slider with at least a 9lb weight capacity, plus an ample buffer to handle heavier loads.
4. Decide How Far You Want to Go
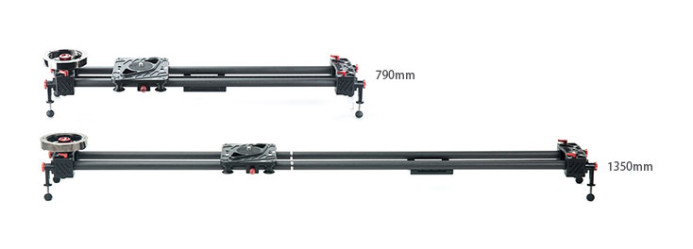
Sliders come in a variety of lengths, so you need to decide how much travel you need from a slider.
Obviously, longer sliders give you more travel, but it’s not quite that simple– more isn’t always better.
Sure, more travel means more options, but longer sliders are also heavier, bulkier, and require more support to keep from flexing (i.e. a tripod to support each end of the slider). Additionally, you’ll need more room to set up a longer slider, which may be difficult when shooting in small spaces.
On the other hand, a shorter slider may provide less travel, but it’s much more portable and lightweight, making it a no-brainer to take the slider with you on all of your shoots– even when traveling.
Different slider lengths are appropriate for different situations– a 3ft slider isn’t necessarily better than a 2ft one. In fact, a slider with 18-24″ of travel is the sweet spot for many shooters. It delivers a fair amount of camera movement, can be mounted on a single tripod, and is easy to carry around.
When the occasional shot comes along that calls for a longer slide, you can simply rent a slider with more travel. There’s no need to deal with the hassle of owning a large slider if you’re not going to make use of it regularly.
Bottom line: A slider with 18-24″ of travel is the sweet spot for most shooters.
5. Choose Your Mounting Options
Most sliders give you two options for mounting the slider on a tripod, each of which comes with some benefits and drawbacks.
Center Mount
The first options is to attach the slider to a single tripod using a mounting point on the center of the slider’s track.
This is the simplest way to mount the slider, as it only requires a single tripod. This options also works best on shorter sliders– longer sliders can flex and wobble when mounted on just a single tripod.
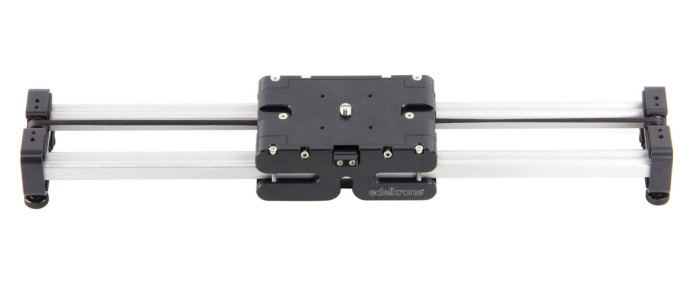
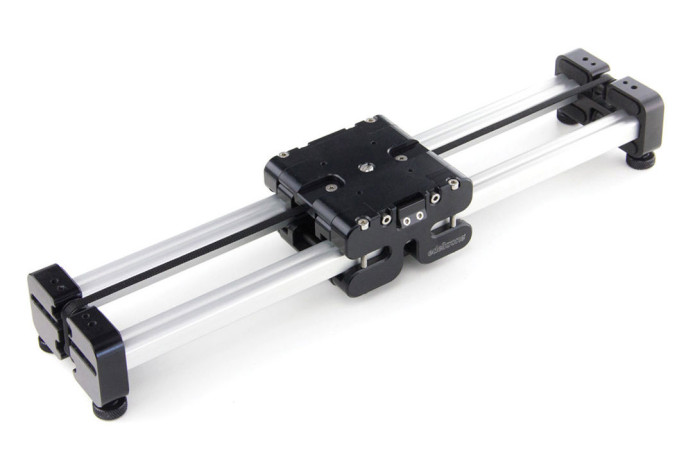
The vast majority of sliders offer this mounting option. In fact, some sliders– such as Edelkrone’s SliderPlus— only provide a mounting point in the center of the slider.
End Mounts
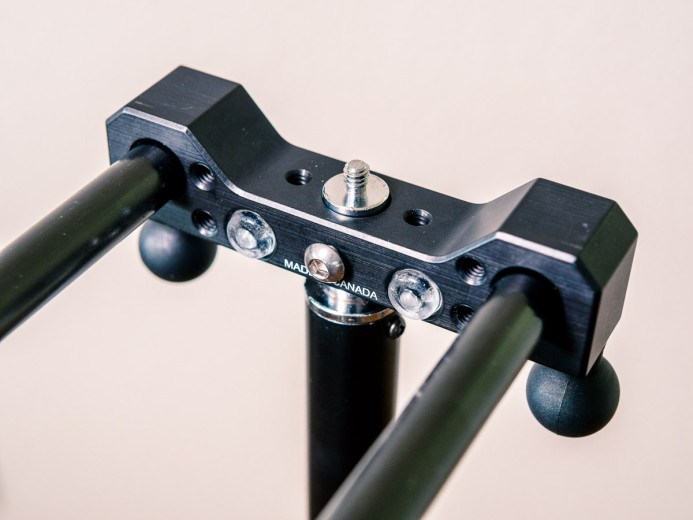
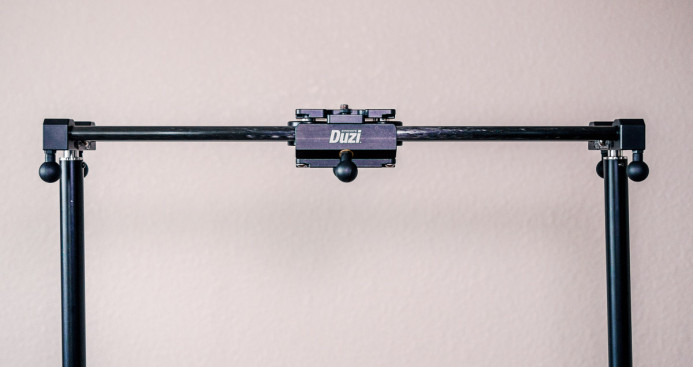
Many sliders also provide mounting points on both ends of the slider, allowing you to use two tripods (or light stands) to support the slider.
This mounting option is ideal for longer sliders (3ft+) and keeps the track from flexing when the camera slides to either end.
However, setting up and mounting the slider on two tripods requires more time than using a single tripod. For example, leveling a slider across two tripod (instead of just one) can take a lot longer. Angling the slider for a diagonal movement can also take longer because you have to coordinate the angle of two tripod heads, rather than just tilting a single one.
Bottom line: Center mounting is the simplest and ideal for short sliders. End mounting requires more setup time, but is practically required for sliders 3ft or longer.
6. Decide if Portability is a Priority
Just because the GH4 is so small doesn’t mean you can’t use a slider beefy enough to handle larger cameras like the RED Epic.
You can do this, and the slider would likely work well, but you would be missing out on of the GH4’s greatest benefits– its portability. The GH4 packs a powerful punch, yet it’s still small enough to take with you everywhere you go.
Are you willing to give up that portability whenever you want to use a slider?
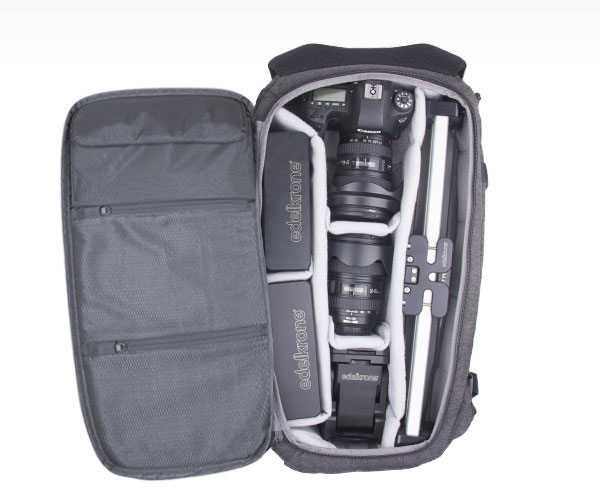
If not, there are portable sliders that easily fit in a backpack such as Edelkrone’s SliderPlus Medium that gives you 24in of travel in a compact package that weighs under 4lb.
The effects of a portable slider ripples through your entire workflow– less support gear to haul to your shoots, a lighter load, faster setup, and easier to use. Ultimately, this means you can start shooting faster.
Bottom line: A portable slider streamlines your entire workflow.
7. No Brake is a Deal-Breaker
Portable or not, even a small slider needs a brake.
A brake allows you to lock the carriage in place on the slider to keep the camera from sliding away when you’re moving the slider or making adjustments.
A fully-loaded camera rig sitting on a low-friction carriage can build up a lot of momentum when it starts to slide out of control. There’s nothing scarier than seeing your unattended camera slide away.
Bottom line: A brake locks the carriage in place on the slider. No slider should be without one (though some are).
8. Does the Slider Have Adjustable Drag?
Some sliders allow you to adjust the tension between the carriage and the track to increase or decrease drag.
More force is required to move the carriage as drag is increased. This gives you more control, which is especially useful for very slow camera movements.
Conversely, the carriage gets easier to move when drag is decreased, allowing you to move the camera with a very light touch. This is useful for fast slides or when you need more dynamic control over the slider (e.g. following a subject moving back and forth).
Bottom line: Whether you want to move fast or slow, a slider with adjustable drag gives you more control over the quality of your camera movements.
9. Check the Slider’s Expansion Potential
When you buy a slider, you’re getting more than just a single piece of equipment– you’re investing in a platform. An ideal slider should have the ability to be expanded in the future to add new features and functionality.
You might only need straight slides today, but a modular slider can grow to meet tomorrow’s needs as well.
For example, iFootage’s Shark Slider comes with 25in of travel by default, but can be further expanded to 47in of travel with a pair of extension rods.
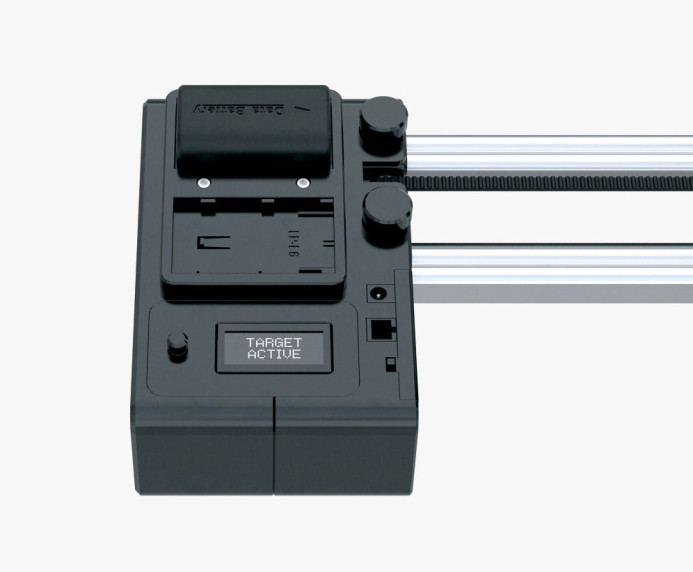
Other sliders such as Kessler’s Pocket Dolly are compatible with motion control modules that automate the movement of the carriage. This allows you to repeat the exact same camera movement again and again, presenting some interesting possibilities for your shots.
Some sliders even offer modules that allow you to program the movement of the camera as well. This is especially useful when you want to keep the camera pointing at an interview subject while it moves across the slider’s track.
Bottom line: A modular slider allows you to expand its functionality as your needs grow.
10. Check for Included Accessories
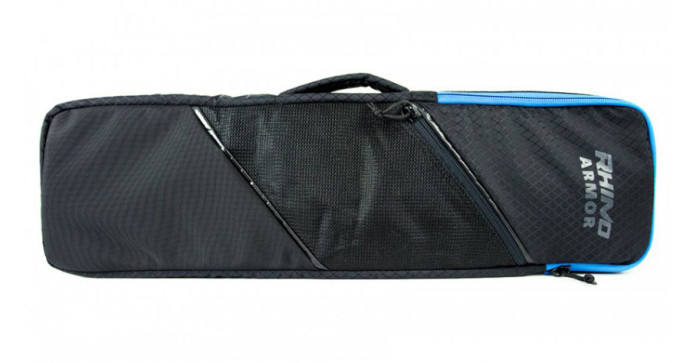
Before you buy a slider, make sure you check to see what accessories are included with your purchase. Some sliders might not even include what you would consider an essential accessory, such as a carrying case.
Here are some things to check for:
- Carrying case — Sliders such as iFootage’s Shark Slider include a carrying case, but it’s an optional add-on for other sliders like Cinevate’s Duzi ($150 extra).
- Adjustable feet — Varavon’s Slidecam V includes adjustable feet so that you can use the slider on uneven terrain, but it’s an add-on for other sliders like Kessler’s Pocket Dolly ($250 extra).
- Brake — Some sliders don’t even come with a brake by default. If you want to lock the camera down when making adjustments to Kessler’s Pocket Dolly, you’ll need to drop another $40.
Bottom line: Make sure you know what accessories are included with the slider before you buy it, as optional add-ons can quickly inflate your total cost.
Choose the Right Slider
By following these simple steps, you can be sure that you have made the right choice when you decide to buy a slider. Make sure to download the free checklist below to make your decision even easier.
Free Download: Interactive Slider Checklist
Use this checklist to quickly and easily see how a slider stacks up and whether it will meet your needs. You’ll also receive future resources and updates to help you tell your stories.
Pay $0 or more for this resource. How much? You decide!
Related
- Varavon Slidecam V 600 — A lightweight 24in rail-based slider.
- Edelkrone SliderPlus v2 (Medium) — A unique slider that’s ideal for travel.
- Kessler Pocket Dolly v2.0 (Traveler) — A highly-rated portable slider.
- iFootage Shark Slider S1 (Bundle) — A rod-based slider that can be extended to over 40 inches of travel.
- Cinevate Duzi Slider — A compact slider that uses carbon fiber rods.
- Panasonic GH4 — A camera that’s capable of professional results, especially when paired with the right slider.
Stabilizing the Panasonic GH4
3-Axis Gimbals
- 3-Axis Brushless Gimbals: The Definitive Guide
- Five 3-Axis Brushless Gimbals for the Panasonic GH4
- Review: Varavon Birdycam 2
Sliders
- Stay on Track: Using Sliders with the Panasonic GH4
- 10 Things You Should Know Before Buying a Slider for the Panasonic GH4
- 6 Purpose-Built Sliders for the Panasonic GH4
- Cinevate Duzi Slider Review: Solid, Compact, Smooth
More Panasonic GH4 Guides
- Why You Should Be Excited About the Panasonic GH4
- Lenses for the Panasonic GH4 — Awesome glass for an awesome camera.
- Memory Cards for the Panasonic GH4 — Get the right memory cards for HD and 4K.
- Configuring the Panasonic GH4 for Video Production — Set the GH4 up for filmmaking.
- Rigging the Panasonic GH4 — Cages, Rigs, Components, Gear, and Reviews.
- Stabilizing the Panasonic GH4 — Tripods, Monopods, Sliders, 3-Axis Gimbals, etc.
- Maximizing the Panasonic GH4’s Audio Performance — Sound matters.
- Powering the Panasonic GH4 — Keep the GH4 shooting all day.
- Should you buy the YAGH for the Panasonic GH4?
- 6 Reasons Why DSLR Shooters Love the Panasonic GH4
