Stay on Track: Using Sliders with the Panasonic GH4
When you need precise control and smooth camera moves, a slider is your best friend.
A tripod allows smooth pans and tilts, but the camera is locked down, so you can only move it around a central axis. Handheld rigs give you free range of movement, but can introduce too much distracting and unsteady motion into your footage.
A slider unlocks your camera, while also keeping keeping the camera smooth and under control, producing footage with a high production value that keeps the audience focused on what’s important.
Anatomy of a Slider
Before diving deeper into what a slider can do for you, let’s take a moment to understand what a slider is.
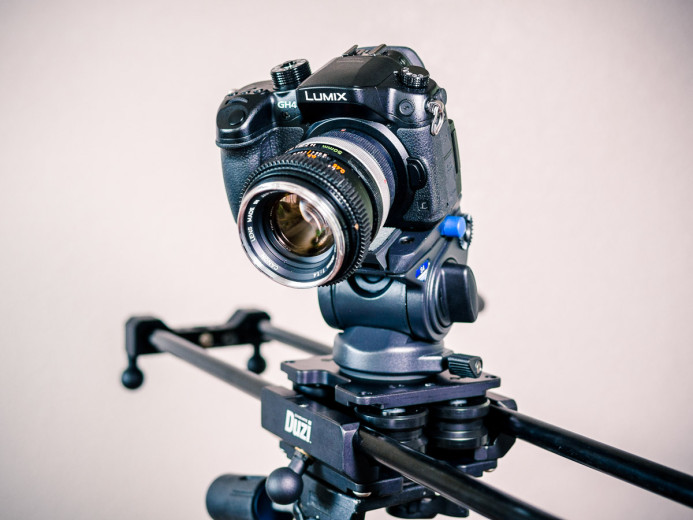
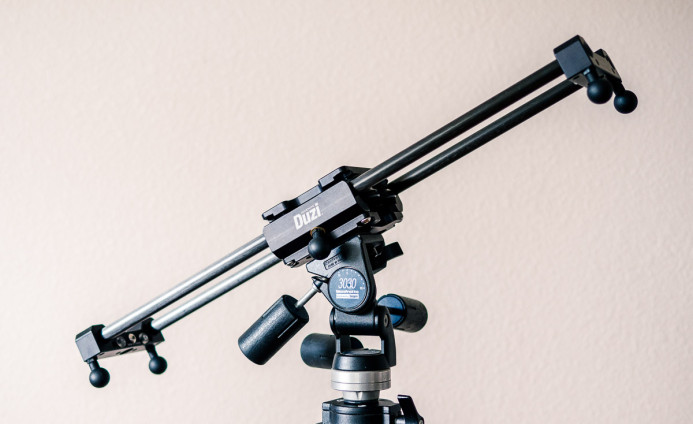
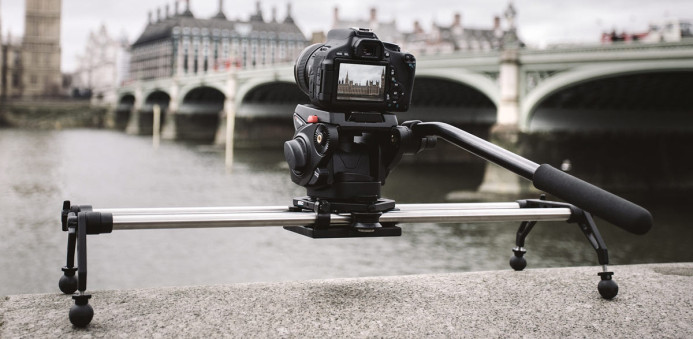
Simply put, a slider consists of a carriage that slides along a rigid track. The camera is mounted on the carriage, which allows it to capture smooth moving footage from one point to another.
Think of a slider as putting the camera on rails.
Carriage
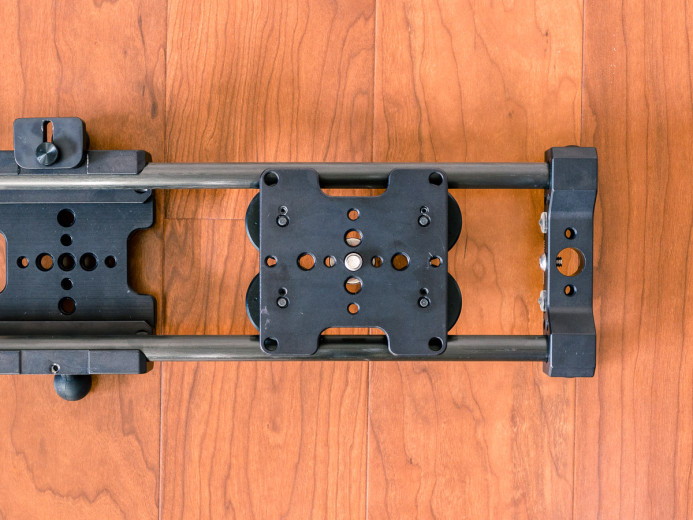
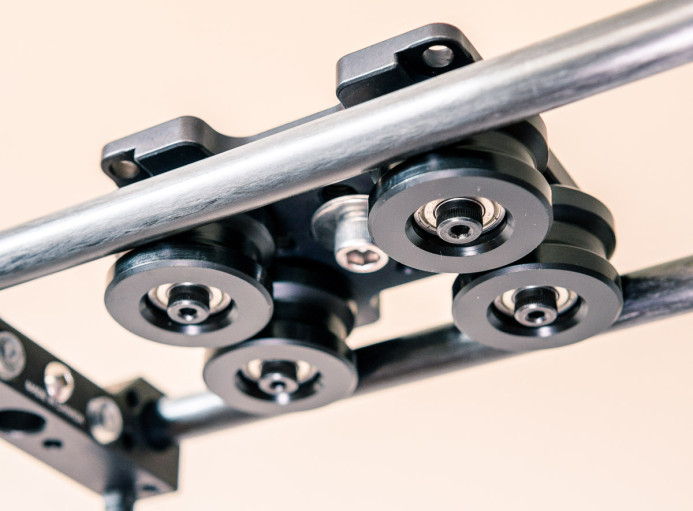
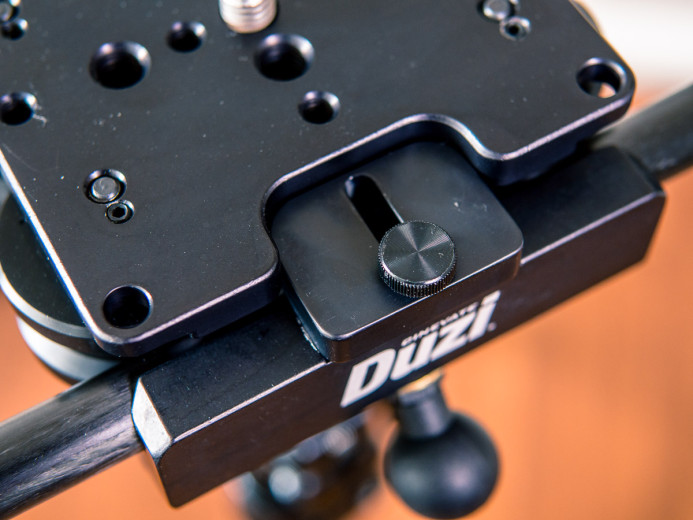
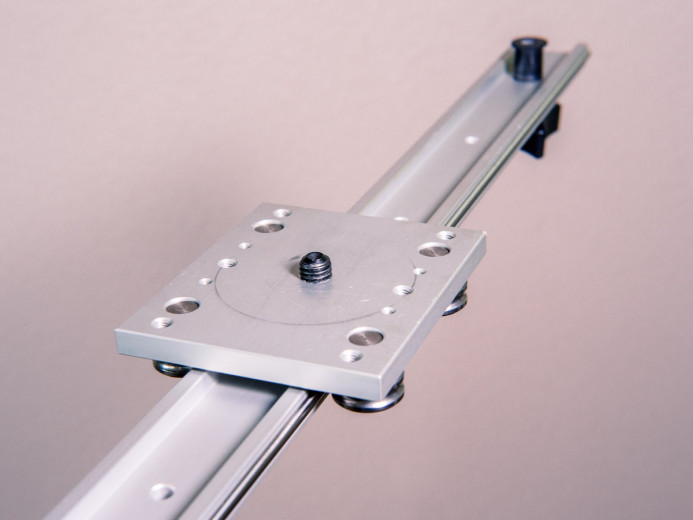
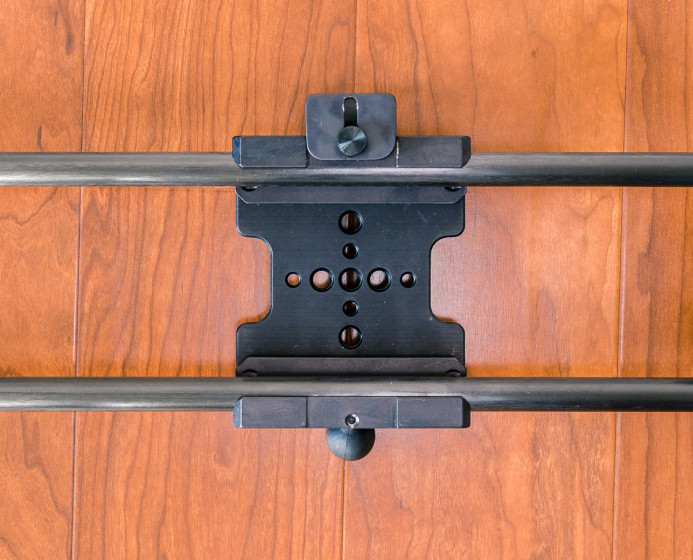
The carriage carries the camera smoothly along the track. It is equipped with wheels or bearings to allow the carriage to move along the track with as little friction as possible. The quality of the carriage’s connection to the track is essential for smooth motion.
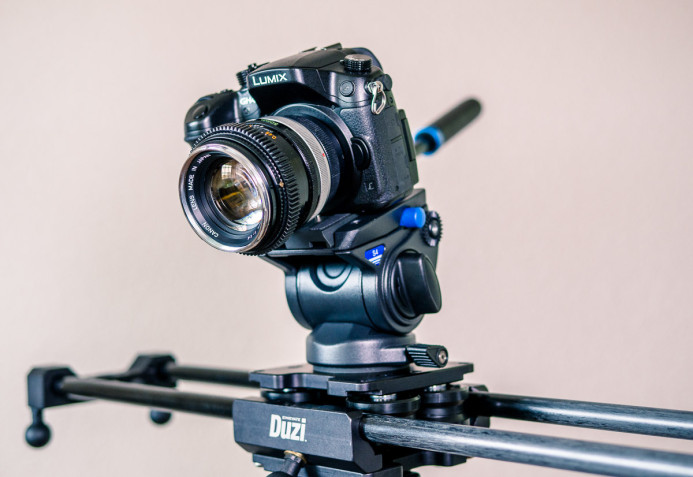
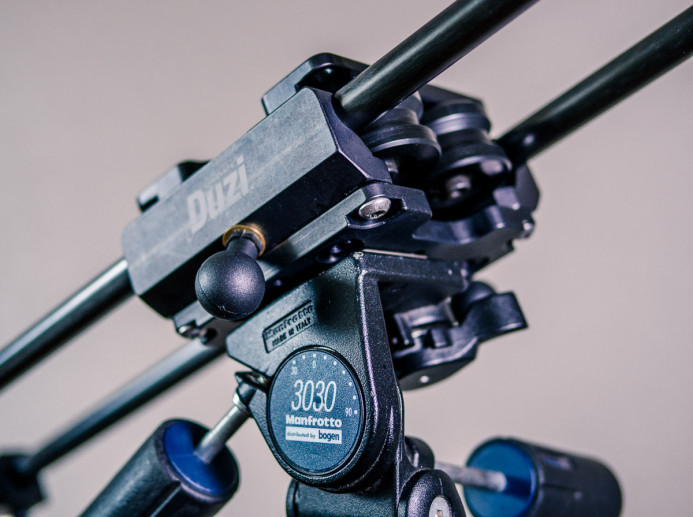
For more control over the camera while using a slider, a fluid head is often mounted on the carriage. This allows you to set the orientation of the camera independently of the slider, and also allows for compound movements (e.g. tilting the camera while sliding the carriage).
The carriage should also have a brake to keep the camera from sliding away when making adjustments or moving the slider.
Track
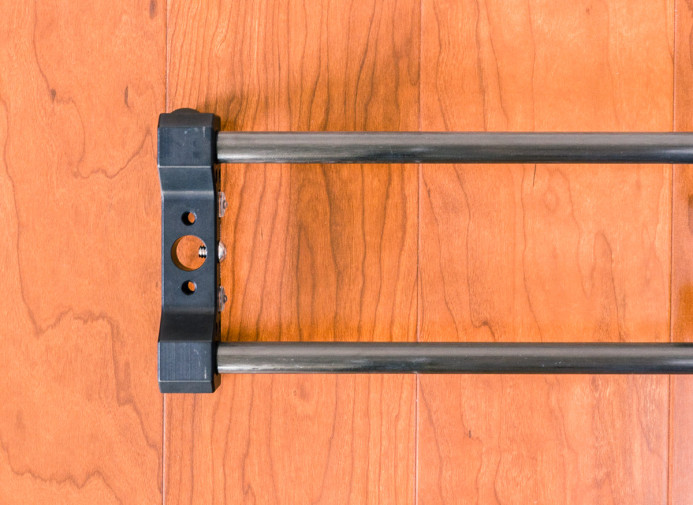
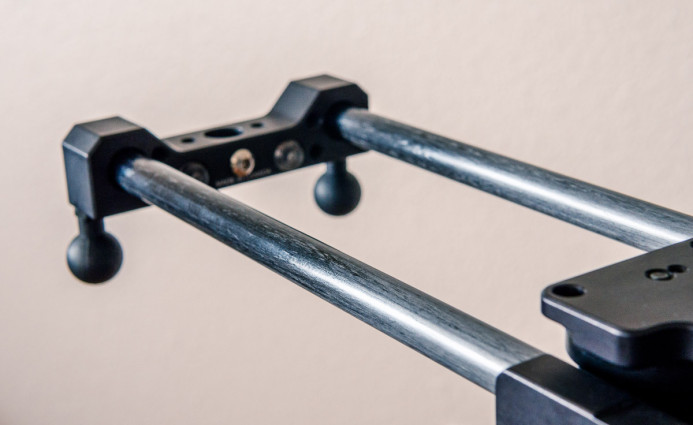
The track keeps the camera moving along a predefined path. A track may be a single rail with channels or two rods, but the track must be completely smooth where it comes into contact with the carriage’s wheels, as any imperfection will show up in your footage.
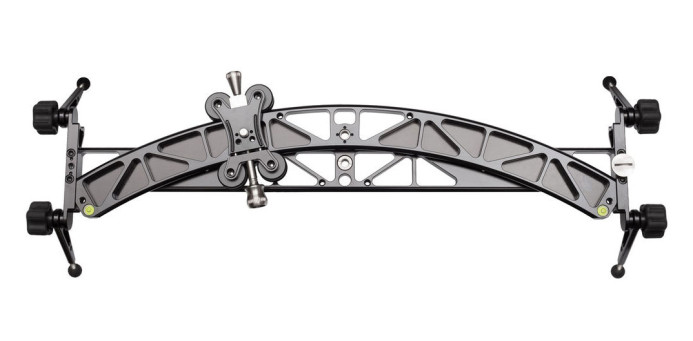
A slider’s track is usually straight, but it may also be curved.
Mounting Points
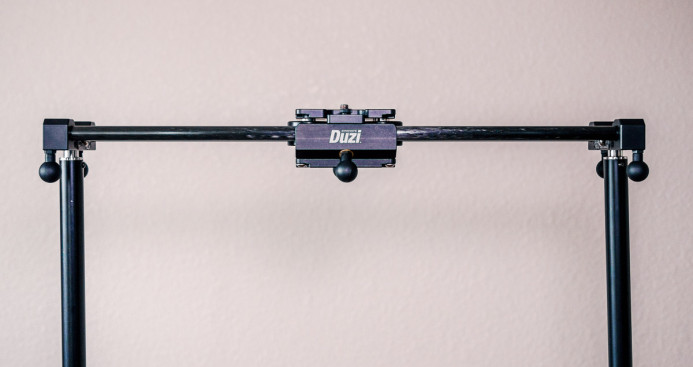
A slider has mounting points to use it with a tripod or a pair of light stands to set the height, position, and angle of the slider.
Most sliders at least have a mounting point in the center of the track for attaching the slider to a tripod.
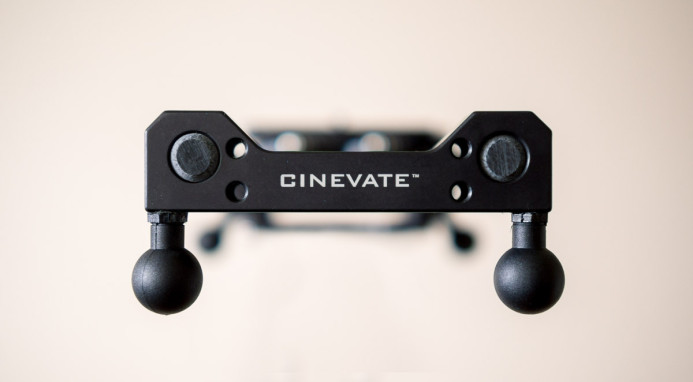
Many sliders also have mounting points on each end allowing you to use a pair of tripods or light stands for improved stability and rigidity. These mounting points are especially useful for longer sliders can can bend or flex.
Feet
A slider’s feet can be used for placing the slider directly on a solid surface, rather than on a tripod. This is useful when you want to set the slider on the ground to shoot from a low angle.
The feet are usually adjustable so that the slider can be leveled on uneven terrain.
Note: If your camera setup is front-heavy/back-heavy, using the slider’s feet may not be as stable as mounting the slider on a tripod.
Camera Movements
These are the main camera movements that are possible with a slider:
- Dolly — Move the camera closer or further away from the subject.
- Truck — Move the camera left/right across the subject.
- Pedestal — Raise or lower the camera in relation to the subject. You can also move diagonally by tilting the tripod head that the slider is attached to.
- Compound — Slide the carriage along the track while also panning and/or tilting the camera using a fluid head on the carriage.
Here’s a video that demonstrates several of these camera movements on a slider:
Why Should I Use a Slider?
A slider provides unmatched control over the movement of the camera. You can even program some sliders to repeat the exact same movement again and again, which allows for some interesting possibilities.
A slider also produces very smooth motion and increases production value by eliminating distracting camera movements.
Regardless of what stabilization tool you use, all camera movement should be motivated and progress the story. In that regard, a slider’s controlled motion is especially useful for communicating purpose or intent to the viewer.
Here are some examples of how a slider can be used to guide the viewer and tell your story:
- Follow — Show the viewer who or what they should be watching by using the slider to follow an object or person as they move through a scene.
- Reveal — Slowly introduce a craftsman’s dedication by starting a shot on a blank wall and then sliding the camera to reveal the artist hard at work in their studio.
- Start to Finish — Help the viewer connect the dots by sliding the camera from the drawings on the wall to the toddler with paint on their hands.
Bottom line: Use a slider to move the camera with purpose.
When a Slider Isn’t the Right Call
Sliders are great at delivering smooth controlled camera movement. You can move the camera slowly or you can zip from one end to the other in a flash. A slider eliminates distracting motion to help the viewer fully focus on what is important in a scene.
However, a slider isn’t appropriate for every shot. Here are some reasons why a slider might not be the best tool for certain situations:
- Too clinical — A slider’s movement can actually be too smooth for some shots, leading the viewer to feel detached from the scene. If you want the audience to feel like they’re right in the middle of the action, a handheld rig is a better option.
- Limited range of motion — As the camera is on a track, it’s range of motion is inherently limited on a slider. If you want complete freedom of movement while still maintaining smooth footage, a handheld stabilizer would help you liberate the camera.
- Limited travel — Sliders come in many different lengths, but at the end of the day, a slider must come to an end. If you need to go for miles, a car, boat, or helicopter may actually be what you need.
- It’s in the shot — A slider’s track can creep into the shot, especially when performing dolly (forward/backward) movements. If you need to move along a path without a track getting in the way, a 3-axis gimbal is a safe bet.
Bottom line: A slider may be too clean or limiting for your shot. Thankfully, there are many other stabilization options available.
Setting up a Slider
Setting up a slider is fairly straightforward. Here’s a brief rundown on getting a slider ready to shoot with:
- Mount the head on the slider carriage — Screw a fluid head on the carriage for more control over the camera when using the slider.
- Set up tripod — Position and level the tripod, making sure that it is stable.
- Mount the slider on the tripod — Screw the tripod’s quick-release plate to the slider and lock it on the tripod head.
- Mount the camera on the slider — Screw the fluid head’s quick-release plate to the camera’s base and pop it on the slider.
While setting up a slider is not rocket science, it is still important to consider the equipment you need and the steps required to use a slider so that you can determine whether a slider is appropriate for your shooting schedule and terrain.
Bottom line: A slider can be set up to shoot with quickly in just a few steps.
What About Dolly?
Dollies are widely used in film and television and can perform many of the same smooth camera movements as a slider, so why shouldn’t use a dolly instead?
Dollies are indeed similar to sliders and can even do things sliders cannot, such as laying down tracks for long camera moves. However, there are several benefits to using a slider instead of a dolly for indie filmmakers or run & gun documentary shooters:
- Quick setup — A slider just needs to be attached to a tripod and it’s ready to go, whereas a dolly requires tracks to be laid and leveled before you can shoot.
- Perfect for the solo shooter — A slider can be operated with a single finger, but a dolly requires an entire crew to transport, set up, and operate.
- Portable — A slider can be small enough to fit in your backpack, while some dollies need their own vehicle for transportation.
- Versatile — A dolly can perform horizontal movements, but since a slider is attached to it’s track, it can also move the camera vertically and diagonally.
Stay on Track with a Slider
A slider is ideal for purposeful camera movements that take the viewer on a journey or reveal something important to them. By maintaining precise control and smooth motion, a slider increases production value by eliminating distractions caused by unsteady footage.
A small slider also packs up easily into a backpack, allowing you capture smooth footage wherever you go.
The next guide will cover exactly what features to look for in a slider when shooting with the Panasonic GH4. Sign up below to be receive a notification as soon as that guide is available.
Related
Stabilizing the Panasonic GH4
3-Axis Gimbals
- 3-Axis Brushless Gimbals: The Definitive Guide
- Five 3-Axis Brushless Gimbals for the Panasonic GH4
- Review: Varavon Birdycam 2
Sliders
- Stay on Track: Using Sliders with the Panasonic GH4
- 10 Things You Should Know Before Buying a Slider for the Panasonic GH4
- 6 Purpose-Built Sliders for the Panasonic GH4
- Cinevate Duzi Slider Review: Solid, Compact, Smooth
More Panasonic GH4 Guides
- Why You Should Be Excited About the Panasonic GH4
- Lenses for the Panasonic GH4 — Awesome glass for an awesome camera.
- Memory Cards for the Panasonic GH4 — Get the right memory cards for HD and 4K.
- Configuring the Panasonic GH4 for Video Production — Set the GH4 up for filmmaking.
- Rigging the Panasonic GH4 — Cages, Rigs, Components, Gear, and Reviews.
- Stabilizing the Panasonic GH4 — Tripods, Monopods, Sliders, 3-Axis Gimbals, etc.
- Maximizing the Panasonic GH4’s Audio Performance — Sound matters.
- Powering the Panasonic GH4 — Keep the GH4 shooting all day.
- Should you buy the YAGH for the Panasonic GH4?
- 6 Reasons Why DSLR Shooters Love the Panasonic GH4
