SPIR: Protect Your Footage with this Simple Workflow
Shooting on tape may be a thing of the past, but keeping your footage safe is as important as ever.
Memory cards make it incredibly easy to capture hours of footage without taking up a lot of space. These tiny pieces of plastic, copper, and silicon hold tons of footage, yet fit in the palm of your hand.

However, as easy as shooting hours of footage is, it’s also easier than ever to lose your precious footage if your memory cards aren’t properly managed. With ever-growing storage capacities, losing or inadvertently formatting just a single memory card could mean the loss of hours of irreplaceable footage.
To keep your footage safe, you need a workflow.
A workflow is a standardized procedure that you can use to ensure that everything is accounted for. When you’re in the middle of a shoot, a good workflow will keep you from missing any steps that could put your footage at risk.
Thankfully, a good workflow does not have to be complicated. SPIR is a simple 4-step workflow that keeps your memory cards in check and protects your footage.
Materials & Supplies
Most of the items you’ll need for this workflow are covered in the previous guide in this series on setting up your memory cards for video production:
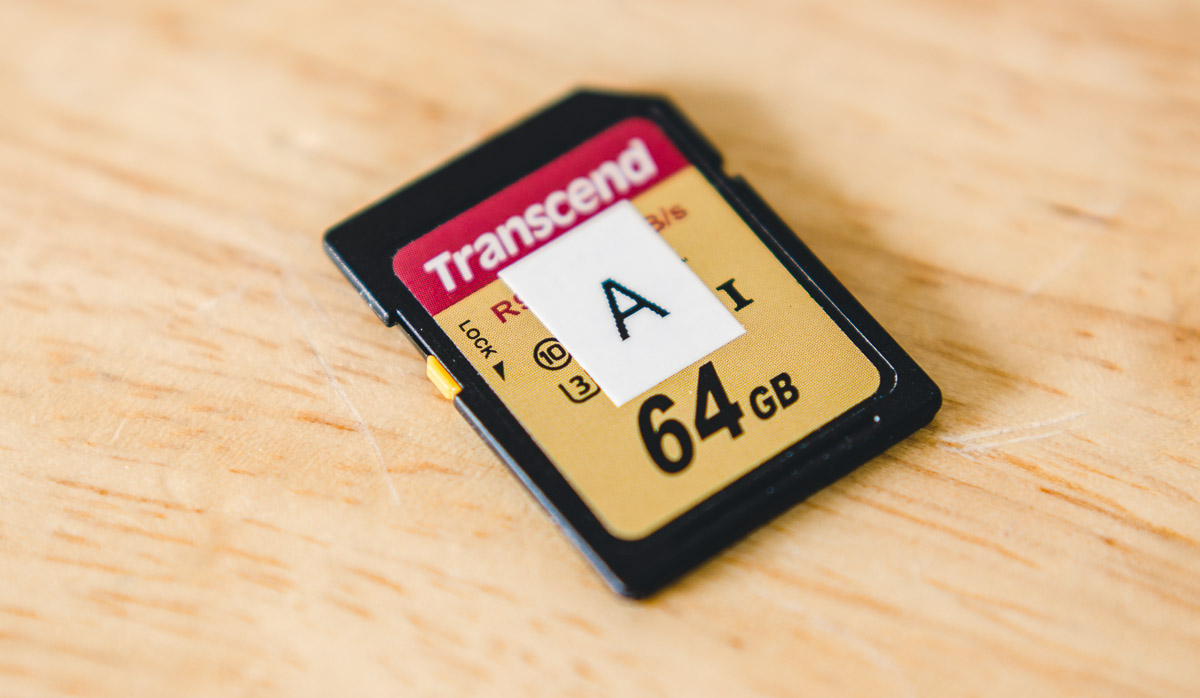
- High quality memory cards — labeled and formatted for your camera
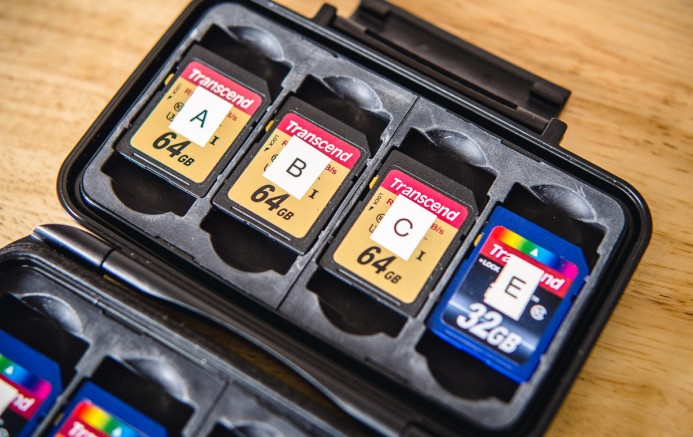
- Protective card storage case — keep you memory cards safe and ready to go

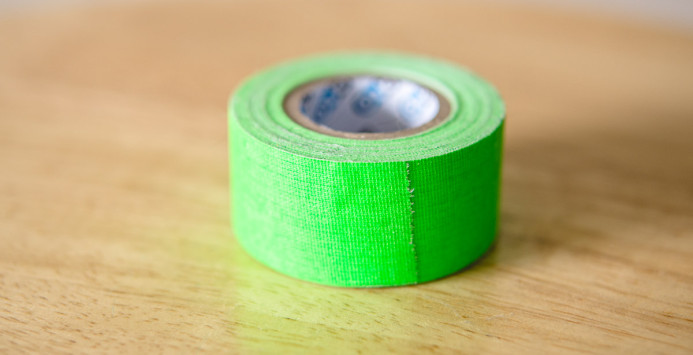
- Gaffer’s Tape — a small roll of 1in tape is good, like this roll of high-visibility green gaffer’s tape (eBay)


I would also recommend checking out the previous guide to get your cards setup and ready for production before proceeding.
SPIR: A 4-Step Workflow
SPIR is a simple and straightforward workflow for managing your memory cards and protecting your footage during production. Here are the 4-steps in a nutshell:
- Shoot — Fill up that memory card with awesome footage.
- Protect — Mark and lock a used card to keep the footage safe.
- Ingest — Transfer the footage from the memory cards to hard drives.
- Reset — Prepare the memory cards for another round of shooting.
1. Shoot
Everything begins with this step– pick up the camera, put in a fresh memory card, and start shooting. Here are some tips to keep in mind while shooting:
- Always use a fresh card — never use cards with existing footage on them as some cameras can be confused by cards containing existing files. Some cameras will even format cards that already have files on them, which could result in lost footage.
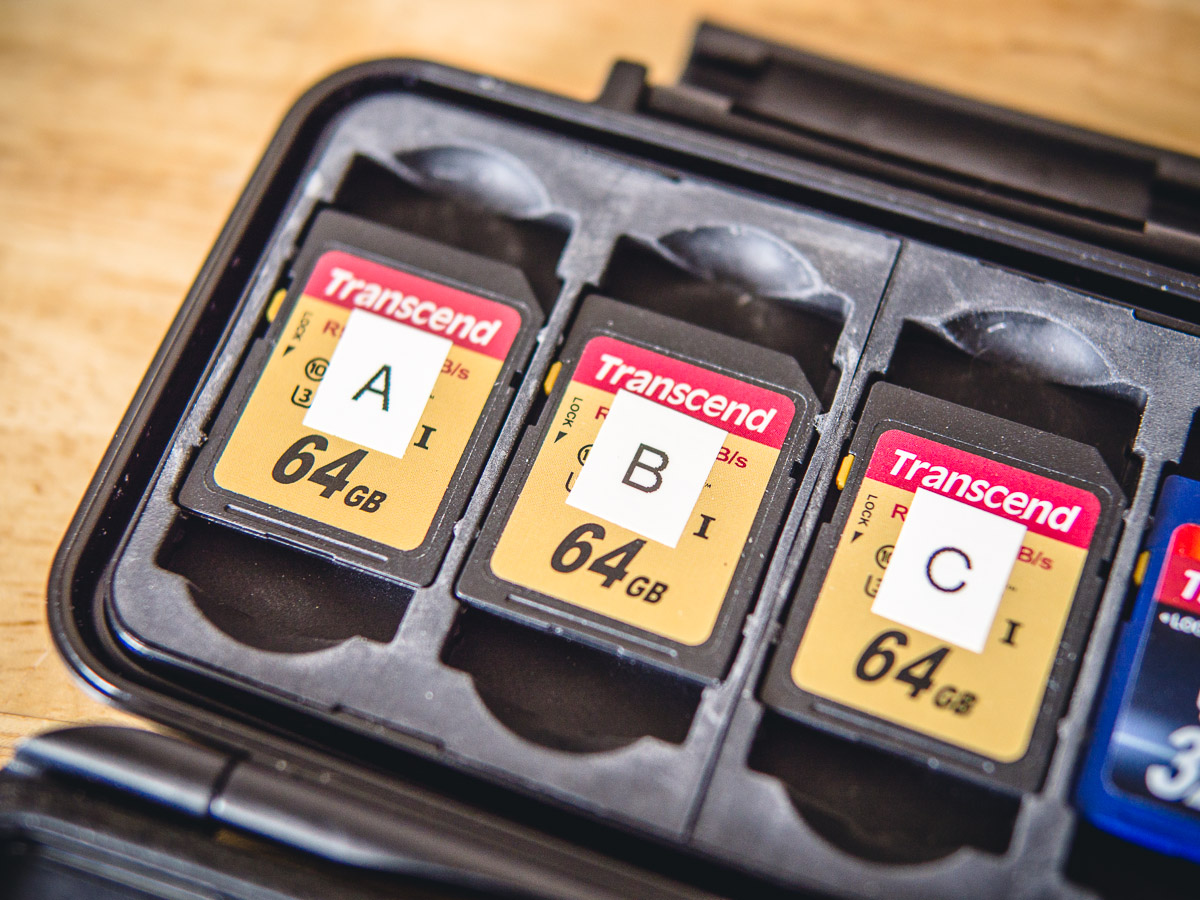
- Use memory cards in order — whether you’ve labeled your cards A,B,C,D or 1,2,3,4, stick to the order in which the cards are labeled. This will allow you to grab a fresh card more quickly and help you to keep track of which cards have already been used.
2. Protect
Once a card is filled, take it out of the camera, mark it as used, and put it into the card storage case flipped backwards. This makes it clear that the card contains footage and cannot be used until that footage is offloaded.
Immediately after removing the card from the camera, enable its write-protect switch. This will prevent any of of the card’s files from being modified or deleted.
Bonus: The write-protect switch on SD cards is easily moved, so cover the card’s contacts with a small strip of gaffer’s tape to clearly indicate that the card needs to be offloaded before it can be used again.
Important: Only use high-quality gaffer’s tape on the card, as other types of tape may leave a sticky residue that could damage your camera or card reader.

Finally, flip the card backwards and place it in the card storage case. This makes it easy to see which cards are used at glance.

Important: Make sure to put the used card in the case before you do anything else. It’s too easy to mix up cards if you pull out a fresh card before putting the used one away.
3. Ingest
When the time is right, you can offload the footage from the memory cards to hard drives for editing and backup.
It’s up to you to decide when to offload your footage. You may want to offload on set during a break in production, or it may be more practical to transfer all of the footage at the end of the day when you’re back in the studio.
There are various ways to offload footage from memory cards, but these requirements must always be met:
- Redundancy — the footage must be copied to multiple hard drives to protect against damage or hard drive failure. Two hard drives is good, three hard drives is better.
- Verification — the copied footage needs to be verified to ensure that the backups contain a bit-for-bit copy of the original files from the memory card.
Ingest Options
Manually managing multiple backups and verifying all copies of your footage is time-consuming and cumbersome. Using a purpose-built tool is highly recommended for automating the offloading process. Here are a few options:
ShotPut Pro
ShotPut Pro is a customizable tool for offloading media. It handles offloading and verification automatically. You can also set up multiple profiles for different types of offloading tasks (e.g. different projects).

- Type: Software (Win/Mac)
- Price: $99
- More information
Red Giant Offload
Red Giant’s Offload makes it simple for anyone to offload media. It features a streamlined interface for selecting the memory card to offload from and setting the hard drives to transfer the footage to.

- Type: Software (Win/Mac)
- Price: $49
- More information
NextoDI
NextoDI makes external hard drives with built-in memory card slots. This allows you to offload footage from your memory cards in the field without needing a computer (though transfer speeds may be slower).
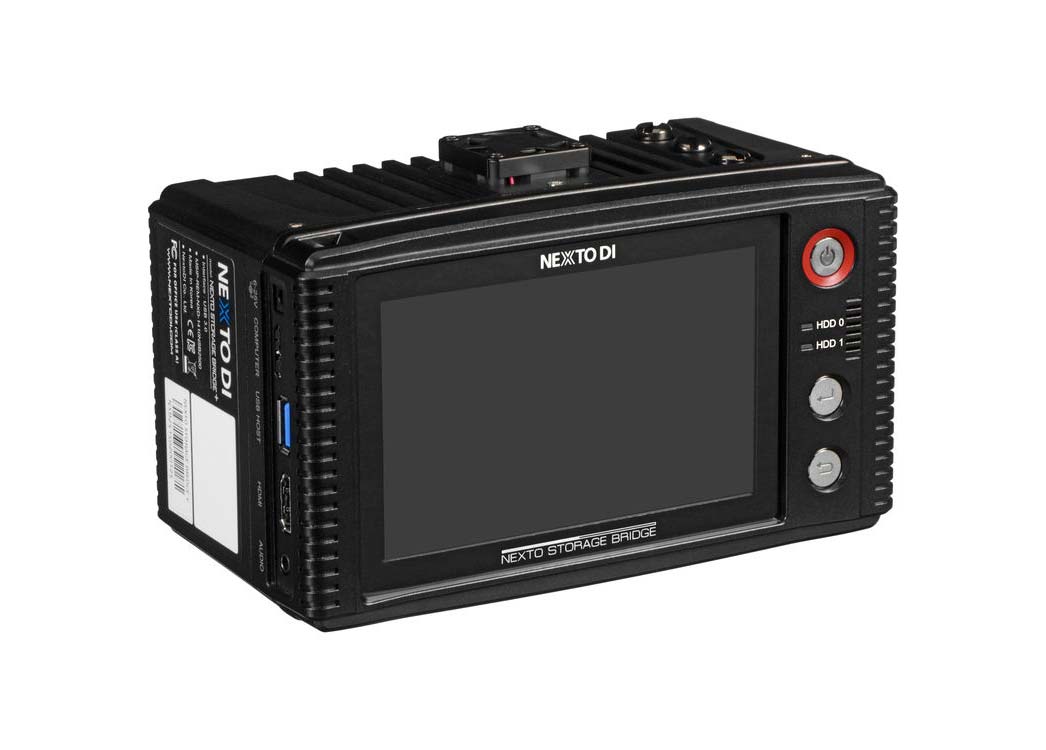
- Type: Hardware
- Price: $429+
- More information
Note: Reviews of these different offload options are coming soon. You can sign up for free updates at the end of this post to be notified automatically when the reviews are available.
4. Reset
Once the card’s contents have been backed up and verified, the card can be wiped and prepared to be put back into service.
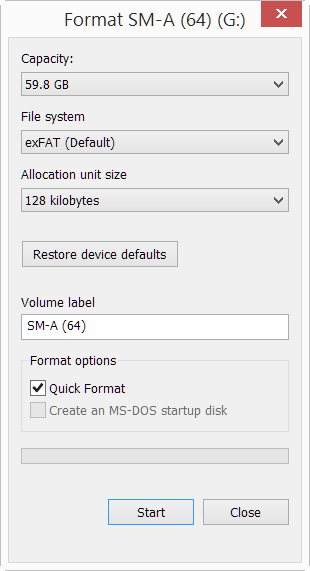
Simply disable the card’s write-protection switch and format the card. You can format the card in-camera, but you may prefer formatting the card with a computer so that the card will be ready to go as soon as it is inserted into the camera.
Formatting with a computer also allows the card to retain its label, which is usually removed when the card is formatted in-camera. You shouldn’t run into any issues as long as you use a formatting method that is compatible with your camera (e.g. exFAT, FAT32, etc.).
Once formatted, put the card in the storage case facing forward to indicate that is ready to use. You can put the gaffer’s tape under the card in the case until the next time you need it.

Stay Sharp with SPIR
Pressure can run high on set, making it easy to lose track of details.
Which cards are used? Which cards are backed up? Which cards can I format to free up space?
By sticking to this simple 4-step workflow, the current status of every card is clear as day and mistakes that could cost you your footage are avoided completely.
Related
- Memory Cards
- Pelican 915 SD Card Case
- Gaffer’s Tape (eBay)
- Offloading Tools
Data Management for Video Production
- Build a Rock-Solid Memory Card Setup for Video Production
- SPIR: Protect Your Footage with this Simple Workflow
- Offload Footage Fast with these Memory Card Readers
More Resources
- Why You Should Be Excited About the Panasonic GH4
- Lens Options for the Panasonic GH4
- Memory Cards for the Panasonic GH4
- Rigging the Panasonic GH4
- Stabilizing the Panasonic GH4
- Getting the Best Audio from the Panasonic GH4
- Should you buy the YAGH for the Panasonic GH4?
- 6 Reasons Why DSLR Shooters Love the Panasonic GH4